To easily master off-camera flash photography, start by setting up a wireless trigger system to guarantee precise synchronization with your camera's shutter. You'll need a durable flash unit capable of adjustable power settings to adapt to various lighting conditions. Use modifiers like softboxes or umbrellas to shape and diffuse the light, creating flattering effects and minimizing harsh shadows. Position your flash at different angles and distances, experimenting with the intensity until you achieve the desired balance with the ambient light. Understanding these basics sets the foundation for elevating your portrait photography—there's so much more to uncover and master in this exciting field.
Understanding Off-Camera Flash Basics

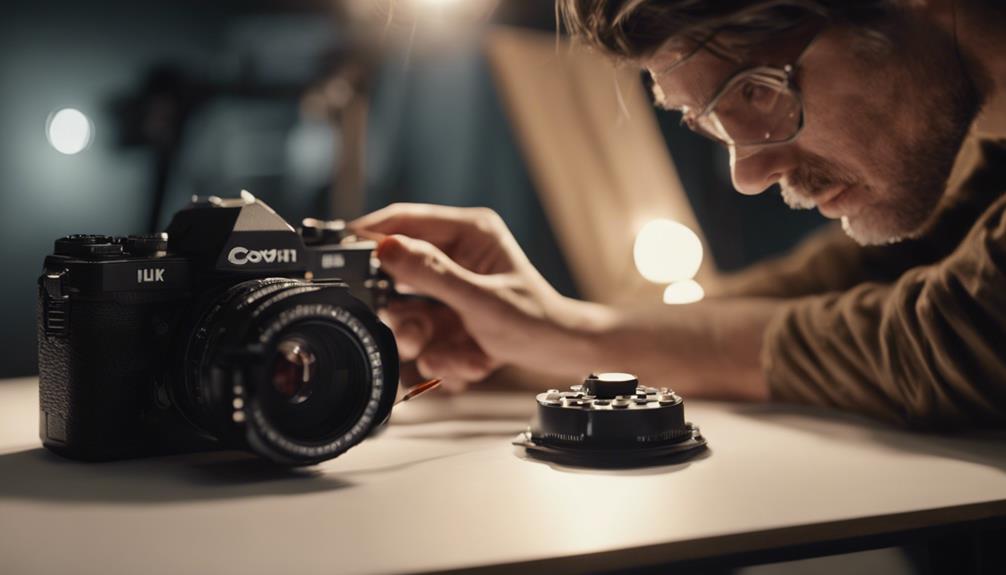
To master off-camera flash photography, you must first understand its core components: the flash unit, triggers, and modifiers. The flash unit, often a portable strobe, is your primary light source, detached from your camera. It allows for enhanced lighting flexibility, pivotal in creating professional-grade imagery.
Flash synchronization is important in ensuring your flash fires in perfect harmony with the camera's shutter. This synchronization is typically managed via triggers—wireless devices that communicate between your camera and the flash unit. When you press your camera's shutter button, the trigger sends a signal to the flash to fire at precisely the right moment. Selecting a trigger compatible with your camera and flash for seamless operation is fundamental.
Modifier types play a significant role in shaping and controlling the light emitted by your flash unit. Softboxes, umbrellas, and diffusers are common modifiers that soften and spread the light, reducing harsh shadows and creating a more flattering light on your subject. Each modifier has unique characteristics; for instance, a softbox provides directional control and softens light without spilling it widely, ideal for intimate portraits. Understanding how to effectively use these modifiers will elevate your off-camera flash photography, making it indispensable in diverse shooting conditions.
Choosing the Right Equipment
Selecting the appropriate off-camera flash equipment hinges on your specific photographic needs and the environments in which you'll be shooting. You'll want to ponder several factors to make sure your gear not only captures stunning photos but also withstands the rigors of your photographic adventures.
Here are key aspects to contemplate:
- Flash Durability: Opt for a flash that boasts robust build quality. High-quality materials can withstand various environmental conditions and frequent use. Look for weather-sealed models if you're often shooting outdoors.
- Sync Speed: This is critical as it determines how well your flash can synchronize with the shutter speed of your camera. A higher sync speed allows more flexibility in capturing sharply illuminated subjects in broad daylight without overexposure.
- Power Output: The power of the flash affects how much light it can emit. Consider models with adjustable power settings, which provide versatility across different shooting conditions and subject distances.
Setting Up Your Flash

After selecting the appropriate equipment, you'll need to properly set up your off-camera flash to guarantee peak performance during your shoots. Start by connecting your flash to the wireless triggers, making sure a robust sync between devices. This is important for maintaining the integrity of your flash's firing in sync with your camera's shutter.
Understanding the sync speed of your camera is essential. Sync speed is the maximum shutter speed at which your camera can operate while still being fully synchronized with the flash. Exceeding this speed can result in black bands appearing in your photos, as the shutter curtain is not fully open when the flash fires.
Here's a simple table to help you visualize the basic setup steps:
| Step | Description | Tips |
|---|---|---|
| 1. Attach Wireless Trigger | Secure the transmitter on your camera hot shoe. | Make sure it's fully locked in. |
| 2. Connect Flash to Receiver | Attach the receiver to your flash unit. | Check for secure connections. |
| 3. Test Sync Connection | Fire a test shot to ensure sync functionality. | Adjust settings if necessary. |
| 4. Set Sync Speed | Configure camera to appropriate sync speed. | Refer to your camera manual. |
| 5. Final Adjustments | Fine-tune flash settings for desired effect. | Experiment with flash intensity. |
Mastering Flash Positioning
Once you've set up your off-camera flash, the next critical step involves strategically positioning it to sculpt your subject with light effectively. The placement of your flash directly influences the quality and direction of light, impacting the overall mood and texture of your images.
Here's how you can refine your flash placement:
- Angle and Distance: Position your flash at different angles to your subject to see how the shadows and highlights change. Typically, a 45-degree angle is a good starting point, creating a balance between shadow and detail. Experiment with the distance of the flash from your subject to modify the light's intensity and falloff.
- Height Considerations: Elevating the flash above the subject's eye level often yields more flattering results, reducing the intensity of shadows under the eyes and chin. However, too high can lead to unnatural shadows and highlights, so adjust accordingly.
- Utilizing Flash Modifiers: Implement flash modifiers like softboxes or umbrellas to diffuse the light, creating a broader, softer light source that flatters the subject. Diffusers are important for ambient balancing, helping to integrate the flash lighting with the existing environmental light without creating harsh contrasts.
Mastering these positioning techniques will greatly enhance your portrait photography by providing a more controlled and professional lighting setup.
Adjusting Flash Intensity
Adjusting the intensity of your off-camera flash is vital for achieving the desired exposure and balance in your photographs. The primary goal here is to make sure that the flash output complements, rather than overwhelms, the ambient light. This technique, known as ambient balancing, allows you to maintain atmosphere in your shots while adding the necessary illumination from your flash.
To start, you'll need to understand the concept of flash synchronization. It's important to sync the flash with your camera's shutter speed to optimize exposure. Most DSLRs and mirrorless cameras have a sync speed – typically between 1/160th to 1/250th of a second. Staying within these limits prevents the shutter from closing before the flash fires, which could result in underexposed images.
You should also experiment with manual settings on your flash unit. Adjusting the power output can be done typically in increments, measured in stops or fractions (e.g., 1/1, 1/2, 1/4, etc.). Start at a lower intensity and gradually increase until you achieve a balanced look where the flash doesn't overpower the scene but rather fills in shadows effectively, maintaining detail and color accuracy.
Mastering these adjustments is key to elevating your off-camera flash technique and achieving professional-quality results in your photography.
Practicing With Real Scenarios
To master off-camera flash photography, begin by applying your skills in various real-world scenarios, critically analyzing the effects and making precise adjustments based on environmental factors. When practicing, it's essential to conduct a natural lighting comparison to understand how your artificial light behaves in contrast to ambient light. This comparison helps you achieve the desired illumination balance, important for creating depth and dimension in your images.
Here are key practices to elevate your off-camera flash technique:
- Shoot at Different Times of Day: Experiment with your flash during different lighting conditions—dawn, midday, dusk. Observe how the intensity and angle of natural light affect your flash's effectiveness and modify your setup accordingly.
- Engage in Model Communication: Effective communication with your model is crucial. Direct them to move into or out of the flash's path to explore subtle changes in shadow and highlight, enhancing the emotional impact of your portraits.
- Use Varied Locations: Challenge yourself by shooting in diverse environments—urban settings, nature, or cluttered interiors. Each location presents unique challenges in managing reflections and light absorption, pushing you to adapt your flash settings and modifiers.
Frequently Asked Questions
How Can Off-Camera Flash Affect the Mood of a Portrait?
Using off-camera flash, you can dramatically alter the mood of your portraits by adjusting the lighting intensity and engaging in shadow play.
By positioning the flash away from the camera, you control where the light falls and where the shadows deepen, adding depth and emotion to your images.
This technique allows you to highlight textures, sculpt features, and create atmospheric contrasts that evoke different feelings, making your portraits more compelling and expressive.
Are There Any Budget-Friendly Off-Camera Flash Options?
Yes, you'll find several budget-friendly off-camera flash options that won't break the bank. Consider purchasing used flashes from reputable sources to cut costs. Additionally, you can enhance flash performance with DIY modifications like bounce cards or diffusers made from inexpensive materials.
Always check flash durability; even budget models should withstand regular use. Look for flashes with good energy efficiency and user-friendly controls to maximize your investment in developing your photography skills.
What Safety Precautions Should I Take With Off-Camera Flash?
When handling off-camera flashes, safety dances at the forefront of your concerns.
To guarantee flash overheating, make sure adequate cooling periods between shots.
Treat battery handling with care; store them in cool, dry places and avoid contact with metal objects to dodge short circuits.
Always monitor the environment's temperature and your equipment's stress signals to maintain both functionality and safety.
This vigilance shields you and your gear from potential hazards.
Can Off-Camera Flash Be Used Outdoors in Windy Conditions?
Yes, you can use off-camera flash outdoors in windy conditions, but you'll need to guarantee flash stability. Secure your flash with heavy-duty stands and sandbags to prevent any accidents.
Consider using wind shields specifically designed for photography equipment to mitigate wind interference. Properly anchoring and shielding your setup not only protects your gear but also maintains consistent lighting, essential for achieving professional-quality outdoor portraits.
How Do I Sync Multiple Off-Camera Flashes for a Shoot?
To synchronize multiple off-camera flashes, you'll need wireless triggers, which allow all units to fire simultaneously.
First, make sure each flash is connected to a trigger compatible with your camera. Set your camera's shutter speed within the flash's sync speed—usually around 1/200th to 1/250th of a second to avoid shutter lag issues.
This setup guarantees that all flashes fire in perfect unison, providing consistent, controlled lighting across your entire shoot.
Conclusion
Now, you've mastered the art of off-camera flash; it's time to explore. Juxtapose the stark shadows with the soft glow of diffused light to create dramatic portraits that tell a story.
Adjust your flash's intensity and experiment with positioning—remember, precision in your setup translates to perfection in your shots.
As you continue to practice, let each scenario refine your technique. Harness this powerful tool, and elevate your photography from mere pictures to mesmerizing artistry.

