You can capture magical photos quickly with light painting by guaranteeing the right gear and setting. Start by securing your camera on a sturdy tripod and dialing in long exposure settings in manual mode. Use a remote shutter release to minimize camera shake. Choose an alluring location, perhaps with reflective surfaces to enhance the effect, and make sure it's safe. Experiment with various light sources like LED lights or fiber optic brushes to paint vibrant colors and shapes into the night. Master these basics, and you'll transform ordinary scenes into enchanting visual stories. There's much more to discover as you explore further into light painting techniques.
Understanding Light Painting
Light painting photography transforms ordinary scenes into magical worlds by letting you manipulate light as a dynamic, visual brush in the darkness. This technique isn't simply a modern trend; it has deep historical origins dating back to 1889, when pioneering artists like Georges Demeny created the first known light painting by using small lights attached to human subjects in motion. These early experiments set the stage for a century of artistic influences that pushed the boundaries of light as a medium in visual art.
You're stepping into a lineage that merges photography with performance art, where figures like Man Ray and Barbara Morgan played with light to express motion and emotion in completely innovative ways. Their work in the early 20th century opened up new avenues for photographers, showing that light could be used not just to illuminate, but to paint, sculpt, and tell stories.
As you explore this art form, remember that you're part of a tradition that has always been about pushing limits and exploring new possibilities. Each light trail you create is both a nod to these artistic pioneers and a step toward your own unique expression. Let these historical insights inspire you to experiment boldly and creatively.
Essential Gear for Beginners
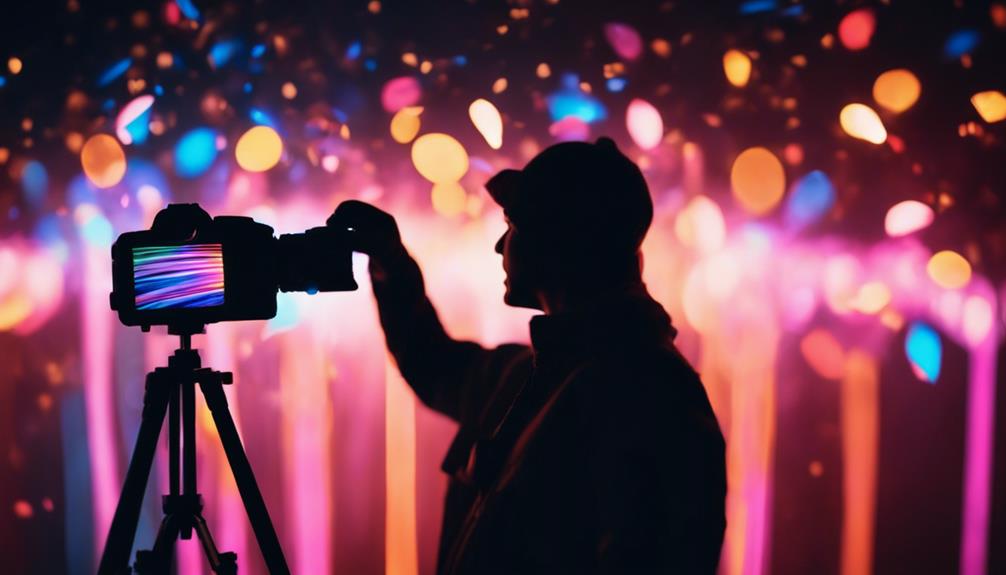
Inspired by the pioneers of light painting, you'll need the right tools to start crafting your own luminous masterpieces. Essential gear isn't just about having a camera; it's about equipping yourself to manipulate light effectively and capture it precisely.
First and foremost, invest in a sturdy tripod. Camera stability is vital in light painting photography, where even the slightest movement can blur your long exposure shots. A reliable tripod will hold your camera steady, allowing you to experiment with exposure times without the risk of camera shake.
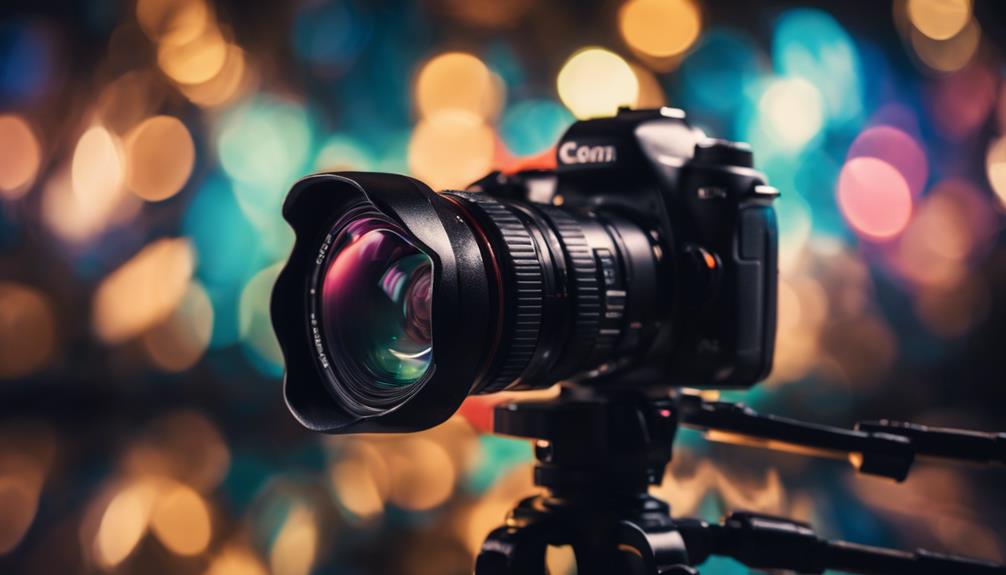
Next, consider the types of light sources you'll use. LED lights, flashlights, or even specialized light painting tools like light wands and pixel sticks can be your brushes in this art form. Each light source can offer different colors, intensities, and effects, so start with a basic set and expand as you explore what works best for your style.
Lastly, a remote shutter release is an essential tool. It allows you to adjust exposure times without touching the camera, minimizing any potential disturbance. This tool is particularly useful when you're working in darker conditions where even the smallest adjustment can affect the outcome.
With these basics, you're well on your way to creating mesmerizing light paintings that capture the magic of your imagination.
Setting Up Your Camera
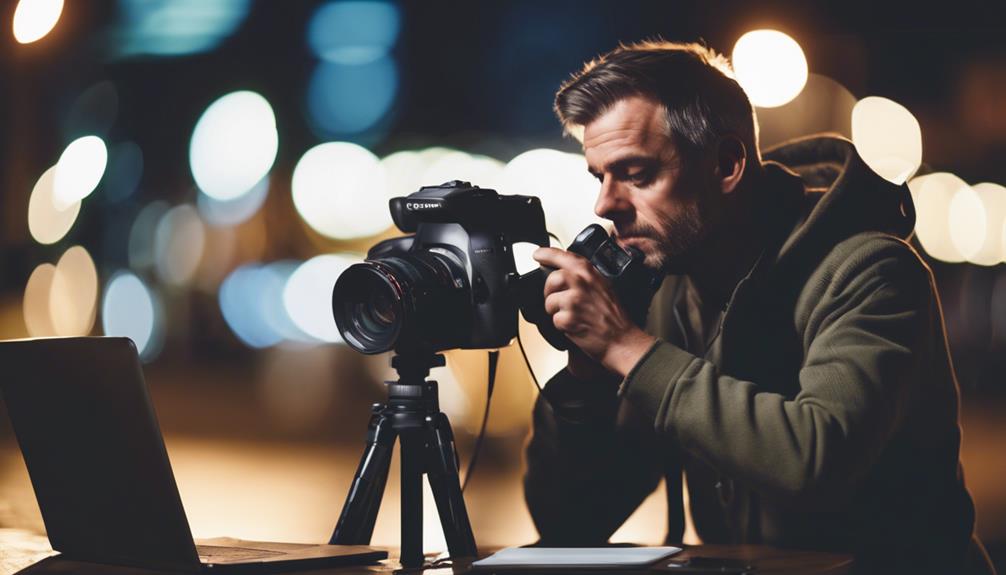
To begin capturing your light painting creations, you'll need to set up your camera with precision and care. First and foremost, camera stabilization is essential. A sturdy tripod will prevent any unwanted movement, ensuring sharp images even during long exposures. Secure your camera on the tripod and adjust it to the desired angle before you start.
Next, explore your camera's exposure settings. Since light painting involves capturing light over time, you'll typically use a long exposure. Set your camera to manual mode. This allows you to control the shutter speed, aperture, and ISO settings independently. Opt for a slow shutter speed, perhaps starting from a few seconds to several minutes, depending on the complexity and movement of your light sources. A low ISO minimizes digital noise, and a small aperture, like f/8 or f/11, keeps the entire scene in focus.
Choosing the Right Location
Having set up your camera, finding the perfect location will greatly enhance the impact of your light painting photographs. The right setting not only complements your creativity but also transforms simple shots into awe-inspiring images. Begin with daytime scouting; this allows you to explore potential spots thoroughly. You're looking for places with interesting structures or natural elements that can interact dynamically with your light sources.
Consider the surroundings for both aesthetic and essential aspects. Is there enough space for you to move freely with your light tools? Are there reflective surfaces that might add an unexpected twist to your images? Additionally, check for any safety issues like uneven ground or nearby water bodies.
Weather considerations are important; they can make or break your planned shoot. Ideal conditions would be a clear, dry night. However, adapting to unexpected weather can also lead to uniquely fascinating effects, so keep an open mind but always prioritize safety.
Mastering the Light Sources
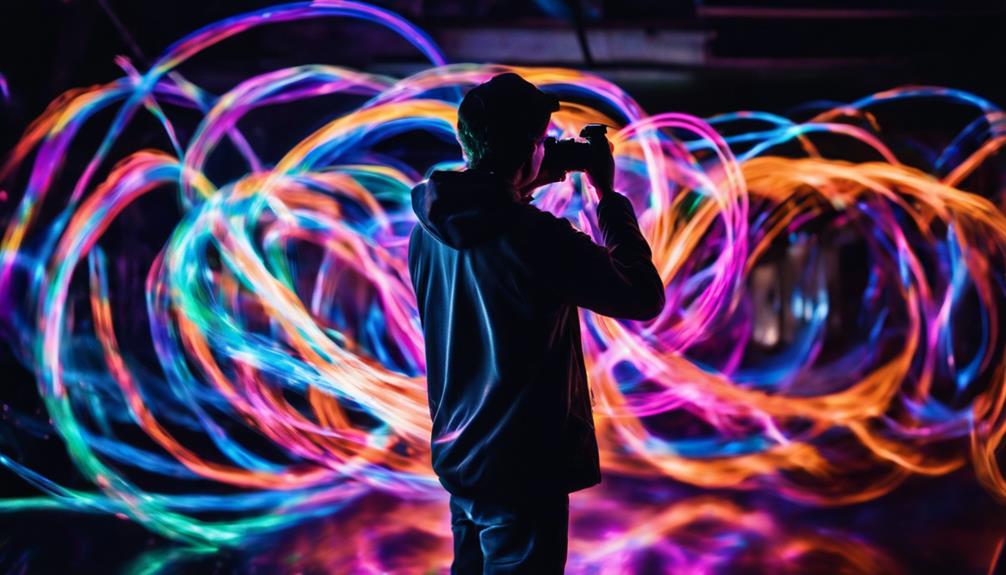
Now, let's explore perfecting your light sources, an essential element that brings your artistic vision to life in light painting photography. Choosing the right light source is vital because it directly impacts the mood and texture of your final image. You'll want to take into account the color temperature of your lights, which refers to the warmth or coolness of the light emitted. Typically measured in Kelvins, lower temperatures give off a warmer, yellowish glow, while higher temperatures produce a cooler, bluer light.
Incorporating light modifiers can also greatly enhance your light painting techniques. These modifiers, such as diffusers, snoots, or grids, allow you to shape and control the light's direction and its spread. By adjusting the modifiers, you can create soft, diffused lighting that gently illuminates the scene, or you can focus the light into a tight beam for dramatic effects.
Experiment with different types of light sources too—LEDs, flashlights, or even fiber optic lights offer varying degrees of control and effects. Each has its unique properties and benefits, so it's worth trying a range to see which best fits your creative vision. Remember, mastering your tools is key to transforming ordinary scenes into mesmerizing artworks with light painting.
Creative Techniques Explored
How can you enhance your light painting photography to mesmerizing levels with creative techniques? By mastering color blending and exposure variations, you'll discover a whole new spectrum of possibilities. Let's explore some transformative approaches to enhance your artistic expression.
| Technique | Description |
|---|---|
| Color Blending | Use multiple light sources of different colors. Slowly move them to blend hues seamlessly in your captures. This technique creates a surreal, dreamlike effect that's visually enchanting. |
| Exposure Variations | Experiment with varying the exposure times. Longer exposures allow more time for elaborate movements, while shorter ones can capture sharp, quick flashes of light for dynamic shots. |
| Light Stencils | Craft stencils to place in front of your light sources. This approach lets you project shapes, patterns, or even scenes onto your photography backdrop, adding layers of meaning and intrigue. |
| Reflections | Incorporate reflective surfaces like mirrors or water to duplicate and distort your light trails. This doubles the visual impact and adds complexity to your compositions. |
| Motion Blur | Introduce slight camera or subject movement during exposure. This can soften the light trails, giving your image a fluid, ethereal quality that's incredibly captivating. |
Troubleshooting Common Issues
When you encounter challenges in light painting photography, it's crucial to pinpoint and address common issues to elevate your artistry. One frequent hurdle is Battery management. Effective management guarantees that you don't run out of power mid-shoot, which can be incredibly frustrating. Always carry extra batteries, and consider investing in higher capacity options or a battery grip to extend shooting time. This proactive approach not only saves time but also expands the scope of your creative exploration without interruption.
Another typical issue you might face is Motion blur. While intentional blur can be a fantastic effect, unintended blur can ruin a shot. To combat this, stabilize your camera using a sturdy tripod. Also, use a remote shutter release or your camera's built-in timer to minimize any shaking when pressing the shutter button. If you're still experiencing blur, check your camera settings. A faster shutter speed might be necessary, or you might need to adjust your light source's movement speed to better match your camera's capabilities.
Inspiring Project Ideas
Exploring various project ideas can greatly enhance your skills and creativity in light painting photography. Let's dive into some intriguing concepts that you can start experimenting with right away.
Firstly, consider immersing yourself in seasonal themes. Imagine capturing the vibrant essence of autumn with swirling lights mimicking falling leaves, or the chilly sparkle of winter with glowing orbs that resemble snowflakes. Each season offers unique elements that you can incorporate into your compositions, making your work resonate with the time of year. This approach not only challenges you to think contextually but also keeps your portfolio fresh and engaging.
Next, why not venture into the world of abstract patterns? This is where you can truly let your imagination run wild. Use light sources to paint intriguing designs in the air. Experiment with different movements — quick zigzags, gentle waves, or chaotic spirals. The unpredictability of abstract light painting can result in genuinely unique artworks that captivate the viewer's imagination. You'll learn to manipulate light in ways you hadn't considered before, pushing the boundaries of traditional photography.
Both of these project ideas won't only refine your technique but also push you to think creatively, producing magical photos that tell compelling stories through light.
Frequently Asked Questions
How Does Light Painting Photography Affect Camera Sensor Longevity?
Light painting photography typically involves long exposure times, which can increase sensor heating in your camera. This prolonged exposure to heat might shorten the sensor's lifespan if practiced frequently.
However, with proper care and occasional use, you can manage this risk effectively. So, don't let this discourage you; instead, see it as a reason to master the art sparingly and cherish the unique, magical images you create with every shutter release.
Can Light Painting Be Done in Very Cold Weather Conditions?
You might wonder if the biting cold can put a freeze on your light painting endeavors. Fear not! You absolutely can pursue light painting in frigid conditions.
However, you'll face battery challenges as the cold can drain power faster. To combat this, keep spare batteries warm in your pockets. Additionally, protect your gear from the extreme temperatures and condensation.
Embrace the cold, and you'll find your creativity heating up the night!
Are There Mobile Apps That Assist With Light Painting Photography?
Yes, there are mobile apps tailored to assist you with light painting photography.
These apps provide a range of features such as long exposure timers and light color filters that can enrich your creative techniques.
You'll discover tools to manage the camera's shutter speed, enabling you to effortlessly capture striking light trails.
Explore these apps to broaden your artistic vision and transform ordinary scenes into captivating light-painted masterpieces.
What Are the Legal Considerations for Light Painting in Public Spaces?
Before you venture out to capture those breathtaking light-painted images, it's important to take into account the legalities. You'll need to check local permit requirements, as some areas might restrict photography without official permission, especially at night.
Also, be mindful of privacy concerns when setting up in public spaces; not everyone wants to be part of your artistic vision.
Ensuring you're informed and respectful can make your creative journey both smooth and fulfilling.
How Can Light Painting Be Integrated Into Wedding Photography?
You can integrate light painting into wedding photography to capture romantic silhouettes and dynamic entrances.
Position the couple against a dark backdrop and use a light source to trace their outlines, creating a glowing effect that highlights their connection.
For entrances, have them walk towards the camera with lights in hand, forming a trail that symbolizes their journey together.
This technique adds a magical, unforgettable element to your wedding photos.
Conclusion
Now, imagine you're a magician, and your camera is your wand. With each sweep of light, you're not just capturing images; you're painting dreams onto a canvas of darkness.
Like the 83% of photographers who found light painting transformative for their art, you too can illuminate the unseen. So, embrace this journey, experiment boldly, and let every stroke of light refine your craft.
Light painting isn't just photography—it's your personal doorway to enchantment. Let the magic begin!

