Your secret weapon for eliminating background distractions in photos is simpler than you might think: effective use of photo editing software. Start by selecting the right tool that balances cost, features, and compatibility with your system. Use tools like the Clone Stamp to meticulously remove unwanted elements, and apply Layer Masks to subtly enhance your main subject without compromising the background integrity. Adjusting exposure, cropping distractions, or even replacing entire backgrounds can transform your images from cluttered to clean. Master these techniques, and you'll unleash the full potential of your photography, revealing images that truly stand out. Curious for more insights? There's plenty more to explore.
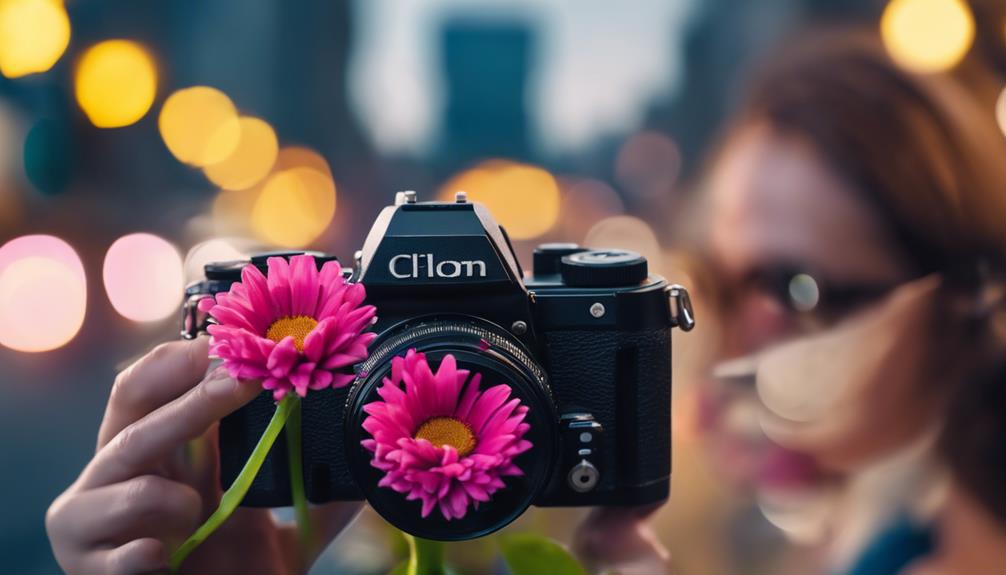
Understanding Background Distractions
To effectively reduce background distractions in your photos, it's vital to first identify what typically constitutes a distraction within the frame. Common culprits include overly bright spots, contrasting colors that draw the eye away from the main subject, and complex patterns that clash with the focal point of your image.
Once you've pinpointed these elements, you can start applying specific composition techniques to mitigate their impact. One effective strategy is the use of a shallow depth of field. By widening your aperture, you'll blur the background, ensuring that unwanted elements are less noticeable and that your main subject remains sharp and in focus.
Additionally, consider the rule of thirds when framing your shot. Positioning your subject off-center can't only enhance the visual interest of your photo but also help in strategically cropping out distracting elements that don't serve the story you're trying to tell.
Lighting adjustments also play an important role. Manipulating shadows and highlights can dramatically alter how background elements are perceived. Utilizing softer light can reduce harsh contrasts, while directional lighting can be used to subtly steer attention away from distracting backgrounds toward your main subject, effectively keeping the viewer's focus where you want it.
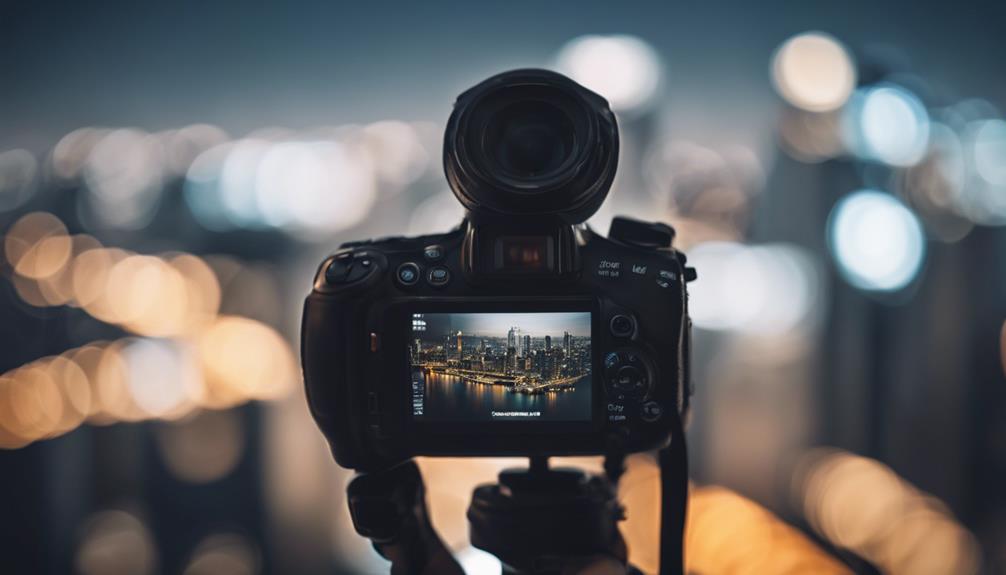
The Power of Photo Editing Software
Once you've captured your image, photo editing software becomes an indispensable tool for refining your shots and eliminating any remaining distractions. These powerful programs offer a plethora of tools that allow you to adjust exposure, crop out unwanted elements, and even replace entire backgrounds with just a few clicks. However, as you immerse yourself into the world of photo editing, it's important to be mindful of software costs and compatibility issues that might arise.
Software costs can vary dramatically—from free tools that offer basic functionalities to expensive premium packages designed for professionals. It's important to evaluate what features you really need before investing. Don't get enticed into paying for complex tools that are beyond your current skill level or unnecessary for your typical photo editing tasks.
Moreover, compatibility issues can be a significant hurdle. Make sure that the software you choose runs smoothly on your operating system and doesn't require excessive hardware resources. Nothing's more frustrating than experiencing constant crashes or sluggish performance when you're in the middle of refining an image.
Choosing the Right Tool
Choosing the perfect photo editing tool involves evaluating your specific needs, skill level, and budget to enhance your photography without unnecessary complexity or expense. You'll need to take into account software compatibility first. It's crucial that the software you choose runs smoothly on your existing hardware. Whether you're using a high-end desktop or a more common laptop, check the system requirements of the software to guarantee smooth functionality without frustrating lags or crashes.
Budget considerations come next. Photo editing tools range from free versions with basic features to premium software offering advanced functionalities. If you're just starting out, you might prefer a free tool that allows you to experiment without financial commitment. However, investing in a paid version can be worthwhile for more serious work, providing you with a broader range of editing tools and better support.
Look for a balance between cost and features. Some mid-range software might offer just the right combination of capabilities without the steep price tag of professional-grade programs. Always check for trial versions or demos; they let you test how the software fits your workflow and meets your specific needs before making a financial commitment. This approach ensures you don't overspend while still getting the necessary tools to create distraction-free images.
Step-by-Step Editing Guide
Begin by selecting the photo you wish to edit, making sure it's loaded into your chosen software. First, address the exposure adjustments. This step is essential as it impacts the overall mood of your image. Look for the exposure slider in your tool panel; slide it left or right to darken or brighten the entire photo respectively. Pay special attention to the highlights and shadows, adjusting them to maintain detail without washing out or over-darkening important elements.
Next, move on to color balancing. This is where you'll correct any color casts and enhance the natural tones in your image. Find the color balance or white balance tool. You'll typically have sliders for adjusting the red, green, and blue channels. Adjust these sliders to neutralize unwanted tints or to emphasize specific hues, depending on your creative vision. For instance, if your image has a chilly, blue overtone, you might add some red or yellow to warm it up.
Both these steps are foundational before you explore further into more complex edits. They make sure that the colors and lighting in your photo are even and true to life, setting the stage for a more focused and distraction-free image.
Tips for Selective Focus
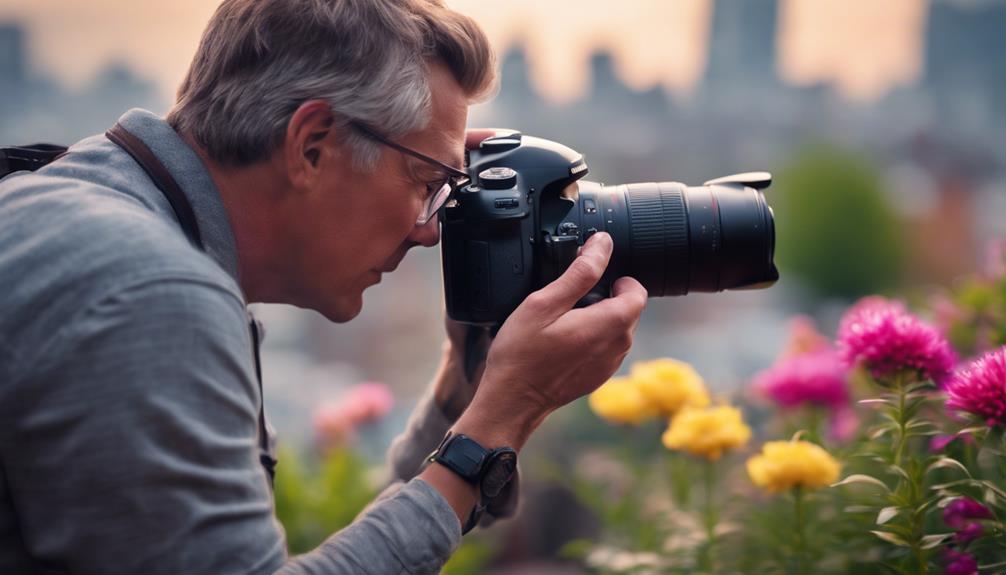
After refining the color and exposure, you can now sharpen your image's focus to highlight your main subject and reduce background distractions. Selective focus is a vital tool that relies heavily on your aperture settings and lens choice. By adjusting the aperture, you can control the depth of field, which determines the range of sharpness in your photo. A wider aperture (lower f-number) creates a shallow depth of field, making your subject stand out while blurring the background.
Lens choice also plays an essential role. Different lenses offer varying degrees of sharpness and bokeh (the aesthetic quality of the blur). A prime lens, for example, is often sharper and has better bokeh than a zoom lens at the same focal length and aperture.
Here's a quick guide to help you master selective focus:
| Aspect | Consideration | Example |
|---|---|---|
| Aperture | Choose a wide aperture for blur | f/1.4, f/2.8 |
| Lens Type | Select a lens that complements style | Prime lens for sharpness |
| Focal Length | Opt for longer lengths to compress | 85mm, 135mm |
| Subject Distance | Closer subject emphasizes blur | 2 feet from subject |
Experiment with these settings to see how they affect your photo's focus and overall feel. Remember, practice makes perfect!
Mastering the Clone Stamp
Mastering the Clone Stamp tool in your editing software allows you to meticulously remove unwanted elements from your photos, ensuring a cleaner and more focused composition. When you first select the Clone Stamp, you'll need to set your source point—the area whose pixels you'll use to paint over distractions. It's important to choose a source that matches the texture and lighting of the area you're correcting.
Next, explore the brush dynamics. Adjust the size to fit the scale of the distraction, and experiment with the hardness to control the feathering of the edges. A softer brush blends more seamlessly, ideal for textured areas like foliage or skin. Conversely, a harder brush works better on uniform textures, like walls or clear skies.
Now, adjust the opacity settings. Lower opacity offers a more subtle effect, allowing you to build up the cloned area gradually and avoid harsh shifts. This technique is especially useful when working in areas with gradient lighting or intricate patterns. By tweaking the opacity, you're layering pixels, ensuring that the final effect maintains the photo's natural look.
With practice, you'll find yourself wielding the Clone Stamp like a pro, turning cluttered shots into clean, distraction-free masterpieces.
Utilizing Layer Masks

Layer masks in photo editing software are essential tools, enabling you to non-destructively hide or reveal parts of an image for precise control over final adjustments. As you immerse yourself into the masking fundamentals, think of a layer mask as your digital stencil; it allows you to selectively modify the opacity of different areas within a layer. This means you can focus edits on distracting elements in the background without affecting the main subject.
To start with a basic mask, simply add a mask to the layer you wish to adjust. You'll see a white box appear next to the layer thumbnail. White on the mask represents areas of full opacity, meaning no change has been made to the original layer. Painting black on the mask will conceal parts of the layer, effectively removing distractions by reducing their visibility.
As you get comfortable, play with different brush sizes and hardness to blend the edges seamlessly. Gradually adjusting opacity in your brush settings allows for smoother adjustments and more nuanced control. For instance, using a lower opacity to gently diminish rather than completely erase background noise can create a more natural-looking effect. Remember, the goal is to enhance your main subject, not to create a stark contrast that draws the eye unnaturally.
Advanced Techniques for Professionals
Now that you're familiar with basic layer masking, let's explore some advanced techniques that professionals use to fine-tune their photo edits for impeccable results. Enhancing your expertise in these areas not only elevates your photography but also expands your creative toolkit, allowing you to manipulate images with precision and artistic flair.
Here's a breakdown of essential professional techniques:
- Lens Selection: Choosing the right lens is pivotal. For minimizing background distractions, opt for lenses with a longer focal length and a wider aperture. These lenses help in achieving a shallower depth of field, blurring the background and thereby keeping the focus sharply on your subject.
- Lighting Control: Mastering lighting is important for setting the mood of the photo. Use adjustable lighting setups to manipulate shadows and highlights, enhancing the subject while subduing unwanted background elements. Techniques like backlighting can separate the subject from noisy backgrounds, adding depth and dimension.
- Frequency Separation: This technique allows you to edit textures and tones separately. It's particularly useful in retouching to maintain skin texture while adjusting color and brightness, ensuring the background doesn't overpower the subject.
- Advanced Color Grading: Implement selective color adjustments to further suppress distracting elements in the background, guiding the viewer's attention to the intended focal points.
Before and After Examples

To fully appreciate the impact of these advanced techniques, examine these before and after examples that demonstrate the transformative effects on photos. Let's start with a common scenario: a stunning portrait marred by a cluttered background. Initially, the image features distracting elements like stray pedestrians and signage that draw attention away from the subject. After applying targeted editing tools, the background transforms into a soft, uniform canvas, highlighting the subject's features and expression.
Observe another example where a beautiful landscape photo suffers from an overcast sky and scattered litter. Initially, the colors appear washed out, and the litter disrupts the natural beauty. Post-editing, the sky boasts vibrant hues of blue and pink, and the ground is pristine, free of any distractions. This transformation not only enhances visual appeal but also focuses the viewer's attention on the dramatic contours of the landscape.
These comparison impacts clearly showcase how removing distractions can elevate a photo from ordinary to extraordinary. The transformation visuals aren't just about removing unwanted elements, but also about enhancing the subject's presence and the overall composition. Such techniques are invaluable in crafting visually compelling images that stand out in any portfolio or collection.
Maintaining Photo Authenticity
While enhancing photos, it's important you preserve the authenticity of the scene to guarantee the image remains a true representation of the moment captured. Striking a balance between removing distractions and maintaining the scene's integrity can be challenging, but it's vital for the ethical considerations tied to photography.
Here's how you can ensure authenticity verification without compromising the allure of your photos:
- Limit Alterations: Only remove elements that don't alter the fundamental story or context of the image. It's imperative to ask yourself whether the removal changes the narrative of the photo.
- Consult Originals: Regularly refer back to the original image. This practice helps in maintaining a benchmark for how much alteration is permissible and ensures you aren't straying too far from the truth.
- Use Subtle Edits: Focus on subtle, minimalistic edits. Enhancing brightness or correcting colors should enhance the photo without changing the scene's emotion or dynamics.
- Keep Documentation: For professional settings, keep a log of the edits made. This not only helps in authenticity verification but also maintains transparency should ethical questions arise.
Frequently Asked Questions
How Can Weather Conditions Affect Background Distractions in Photos?
Weather conditions drastically influence background distractions in your photos. Lighting variations can either highlight unwanted elements or subtly blend them into the backdrop.
Fog density is particularly useful; it naturally softens the background, reducing clutter and focusing attention on your main subject. You'll find that overcast skies create uniform light, diminishing harsh shadows and helping you achieve cleaner, more professional-looking shots.
Always consider these elements when planning your shoots for best results.
What Are the Ethical Concerns With Removing Elements From Photos?
When you remove elements from photos, you're walking on thin ice regarding historical integrity and authentic representation. Manipulating images can distort the truth, potentially misleading viewers. It's essential to maintain the original context and significance of the scene.
If you decide to edit, always consider the implications of altering the factual accuracy of the image. Aim for transparency about any changes made to maintain trust and credibility in your work.
Can Background Noise Impact the Effectiveness of Editing Tools?
Ever wondered how audio interference affects your photo edits?
Yes, background noise can indeed impact the effectiveness of editing tools. Tool sensitivity to such disturbances varies, but generally, high levels of audio interference can disrupt the precision of automated tasks.
You'll find that noise reduction algorithms in these tools need to be robust and creative to counteract these effects, ensuring your edits remain sharp and distraction-free despite the auditory chaos.
How Does the Time of Day Influence Background Clarity?
The time of day greatly influences background clarity in your photos due to changing light angles and shadow detail. Early morning and late afternoon light can dramatically enhance the clarity, as the low angles create deeper, more detailed shadows that define shapes clearly.
Conversely, midday light often results in flat lighting and fewer visible details, making backgrounds appear more cluttered. You'll find adjusting your shooting schedule can greatly improve the visual impact of your images.
Are There Any Quick In-Camera Settings to Minimize Distractions?
Yes, you can quickly tweak in-camera settings to minimize distractions. By adjusting your aperture settings to a wider f-stop, like f/2.8, you'll narrow the depth of field, blurring the background and keeping your subject sharp.
Additionally, mastering focus techniques, such as using a single point focus, guarantees your camera isn't mistakenly prioritizing a busy background. These settings not only enhance your main subject but also artistically soften any surrounding distractions.
Conclusion
Now that you're armed with these powerful editing techniques, you can cut through background distractions like a knife through butter. By choosing the right tools and mastering selective focus and layer masks, your photos will maintain their authenticity while highlighting the intended subjects.
Remember, practice makes perfect. So, keep experimenting with advanced techniques and comparing your before and after shots to see your progress. Your photography is bound to become more engaging and professional.

