Mastering Lightroom begins with delving into your imports and organizing photos into themed collections. You'd be customizing your workspace and toolbar for faster edits. Immerse yourself in the Develop module to adjust exposure, contrast, and refine colors using advanced tools like Gradient Masks and Adjustment Brushes. Don't overlook using keyword tagging to effortlessly categorize your images, making them easier to locate and group. Then, guarantee your exported files maintain their quality with optimized settings tailored for web or print. With Lightroom, you can not only greatly enhance your creative workflow but also craft stunning professional-grade visuals. There's much more to uncover to truly harness the full potential of this powerful tool.
Understanding the Lightroom Interface

To effectively harness Lightroom's full potential, you'll first need to become familiar with its user-friendly interface. At the heart of this interface is the module navigation system, which is your key to smoothly moving between different aspects of photo management and editing. You'll find modules like Library, Develop, and Print, each tailored to specific tasks—organizing, editing, and outputting your images, respectively.
As you dive deeper, pay close attention to toolbar customization—a feature that's essential for streamlining your workflow. The toolbar at the bottom of each module can be customized to display only the tools you use most. Right-click on the toolbar, and you'll see options to add or remove certain tools. For instance, in the Develop module, you might want to keep tools like crop overlay, spot removal, and red-eye correction readily available, while hiding others that you use less frequently.
This level of customization not only declutters your workspace but also makes your editing process quicker and more intuitive. By tailoring the toolbar to your needs, you're setting yourself up for a more efficient editing session, letting you focus more on creative aspects of your photography. Remember, mastering these basics is the first step to becoming adept at using Lightroom.
Importing Your Photos Efficiently
Once you've mastered the interface, importing your photos into Lightroom efficiently is your next important step. Let's delve into how you can streamline this process, keeping in mind the hardware requirements and backup strategies that'll save you time and protect your work.
Firstly, confirm your computer meets Lightroom's hardware requirements. A fast processor, ample RAM, and a solid-state drive (SSD) can greatly speed up import times. Here's a quick guide:
| Requirement | Recommendation |
|---|---|
| Processor | Quad-core or higher |
| RAM | 16GB or more |
| Storage | SSD with 500GB or more |
Next, let's discuss backup strategies. Always back up your photos as you import them. Lightroom can be set up to automatically make a second copy to an external drive or cloud service during the import process. This ensures you don't lose precious work and provides an immediate second copy for archiving.
Make use of Lightroom's preview options during import. Generating previews can be time-consuming, but choosing the right type (minimal, standard, or 1:1) based on your immediate editing needs can save you a lot of time. For instance, if you're just culling images, minimal previews might suffice, speeding up the import process.
Organizing Photos With Collections

After you've imported your photos, organizing them into collections in Lightroom can greatly enhance your workflow and editing efficiency. Collections allow you to group images based on themes, projects, or any other criteria you choose. You can create a collection for a specific photo shoot, or for images that share a common subject, like landscapes or portraits.
To start, simply go to the Collections panel and click the “+” icon to add a new collection. Drag and drop your selected images into this collection. For an even quicker organization, you can use Smart Previews to manage your photos without the need for full-size files. This not only saves disk space but also speeds up your sorting process.
Now, let's talk about Keyword Tagging, a powerful feature to categorize your photos. By assigning relevant keywords to each image, you can search and retrieve them effortlessly later. Imagine you're working on a project that requires all photos tagged with “beach.” Just type the keyword into the search bar, and Lightroom filters those images instantly, regardless of the collection they reside in.
Utilizing these tools, you'll streamline your photo management and make sure that your creative workflow remains as efficient and organized as possible.
Mastering Basic Adjustments
Before diving into advanced techniques, you'll need to master basic adjustments in Lightroom to fine-tune your images effectively. Start by exploring the Exposure essentials, which serve as the foundation of your photo's visual impact. Adjusting exposure affects the overall brightness of your image. If a photo looks too dark or overly bright, tweaking the exposure slider can help you achieve the perfect balance.
Next, let's talk about Contrast control. This feature is vital for adding depth to your images. By adjusting contrast, you're fundamentally manipulating the difference between the darkest and lightest elements of your picture, making your subjects stand out more distinctly. Slide it to the right to enhance the contrasts, making your images pop, or to the left to soften the contrast for a more subdued effect.
You'll also want to get comfortable with adjusting highlights and shadows. Highlights can rescue details lost in well-lit areas, while shadows can uncover details hidden in darker sections. Don't overlook the importance of fine-tuning these elements as they significantly contribute to the mood and texture of your final output.
Utilizing Advanced Editing Tools
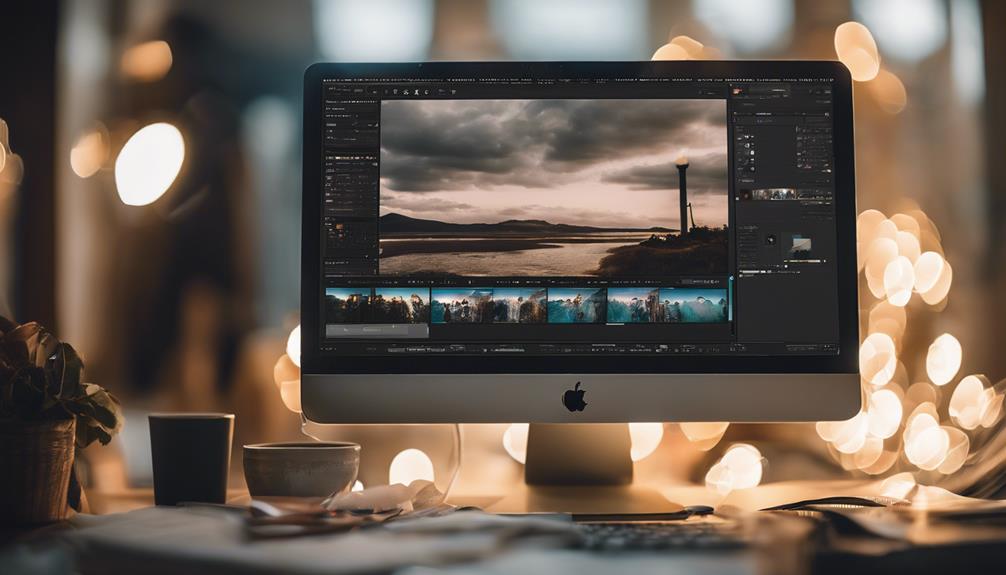
Now that you're acquainted with basic adjustments, let's explore the advanced editing tools Lightroom offers to elevate your photography to professional levels. One powerful feature you'll want to master is Gradient Masks. These allow you to apply effects or adjustments to a specific part of your image gradually. Imagine darkening a distractingly bright sky or adding a subtle vignette that focuses the viewer's eye—Gradient Masks make this essential.
You'll find the Gradient Mask tool incredibly versatile for landscape and portrait work alike. It lets you draw attention precisely where you want it, enhancing the storytelling of your photograph without overt manipulation that can distract.
Moving on to Advanced Blending, this tool refines how different adjustments interact with each layer of your image. You can control the opacity and impact of each adjustment layer, blending them until the effect is just right. This is vital when working on complex edits where multiple layers need to harmonize without overwhelming the original details.
Experiment with these tools to discover how subtle changes can dramatically enhance the mood and quality of your images. By mastering Gradient Masks and Advanced Blending, you're not just editing; you're crafting visual narratives that resonate more deeply with your audience.
Exploring Color Correction Techniques
Diving into color correction, you'll discover how to fine-tune hues and balance the tones to bring out the best in your photographs. As you explore further, understanding color theory becomes essential. Each color on the wheel has a complementary counterpart that, when used correctly, can enhance the overall impact of your image. You'll learn to manipulate these relationships, adjusting the saturation and luminance to highlight your subject effectively.
Histogram analysis is another vital tool in your arsenal. This graphical representation of the tonal values in your shot isn't just there for show. It provides invaluable insights into the distribution of shadows, midtones, and highlights. By reading the histogram, you can identify whether your image is too dark, too bright, or just right. Adjusting the sliders in the Lightroom's 'Basic' panel impacts the histogram and, consequently, the image's color balance and exposure.
Mastering these techniques requires practice, but once you get the hang of it, you'll see your photos transform. The colors will pop, and the details will be more pronounced, all through the strategic application of color theory and histogram analysis in your editing process.
Applying Local Adjustments
After mastering color correction and histogram analysis, you'll find that applying local adjustments allows for even more precise control over specific areas of your image. Lightroom's tools like Gradient Filters and Adjustment Brushes empower you to tweak and fine-tune details that global adjustments can't touch.
Imagine you're working on a landscape photo where the sky is too bright and the foreground too dark. Here's where Gradient Filters come into play. You can apply a gradient filter to gradually decrease exposure in the sky, restoring its vibrant colors without affecting the rest of the scene.
On the other hand, Adjustment Brushes are perfect when you need to modify specific subjects or areas. Say there's a shadow on a subject's face; with an adjustment brush, you can lighten just that area, enhancing details without overexposing other parts of the image.
Here's a quick guide on when to use each tool:
| Tool | Best Use Case | Tip |
|---|---|---|
| Gradient Filters | Balancing exposure in skies | Use a soft feather for realism |
| Adjustment Brushes | Isolating and enhancing subjects | Adjust flow and density for precision |
| Both | Creating depth and dimension in photos | Experiment with blending modes |
Harnessing these tools, you'll not only correct imperfections but also creatively elevate your photography.
Optimizing Export Settings
Once you've perfected your photo edits, optimizing export settings in Lightroom guarantees your images maintain their quality and are suitably formatted for various platforms. Delving into the intricate settings, you'll find the balance between file compression and resolution settings important for the intended use of your photos.
When prepping images for web use, you'd want to take into account more aggressive file compression to reduce load times on websites while ensuring the photo still looks sharp. Here, tweaking the JPEG quality slider to around 60-70% often strikes a good balance. However, for print, you'll need minimal compression. Selecting a TIFF format with lossless compression preserves the highest quality.
Resolution settings are equally vital. For online display, setting the resolution to 72 pixels per inch (PPI) suffices, as it matches screen resolutions. Conversely, printing scenarios demand higher resolutions, typically 300 PPI, ensuring that every detail you painstakingly adjusted shines through in the physical print.
Managing Lightroom Presets
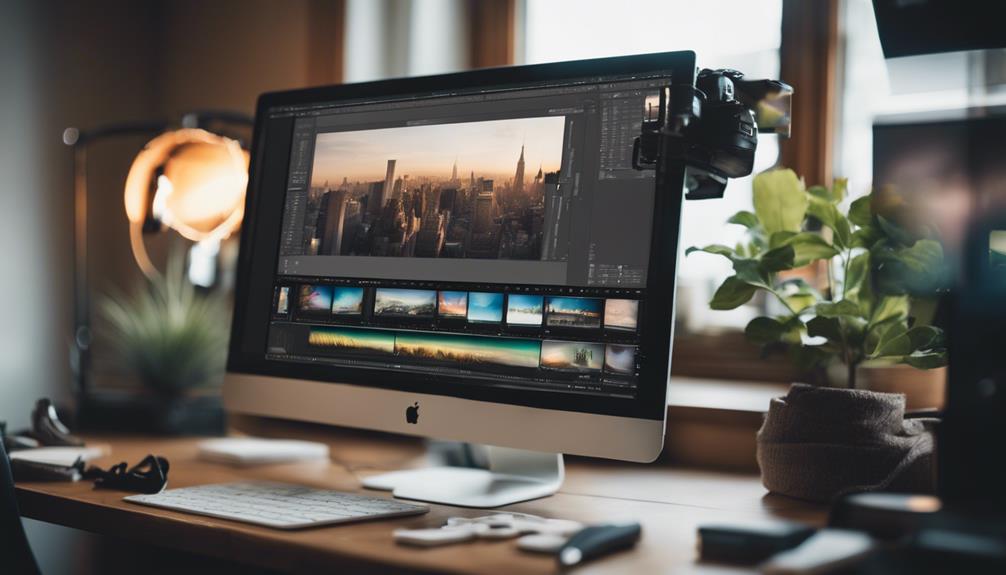
Managing Lightroom presets effectively allows you to streamline your workflow and maintain consistency across your photo projects. As a pro or an enthusiast, harnessing the power of presets not only saves you time but also guarantees that your photos carry a signature look, regardless of the project.
First things first, you'll want to get a handle on Presets Backup. This is essential because you don't want to lose your carefully crafted settings due to a system crash or data corruption. Regularly backing up your presets to an external drive or cloud storage can save you a ton of headaches. Simply navigate to the Lightroom presets folder, copy it, and stash it safely away.
Now, let's talk about Sharing Presets. If you've developed a unique look that others admire, sharing your presets can help you collaborate more effectively or even become a source of revenue. In Lightroom, you can export your presets by right-clicking on the preset and selecting “Export”. You can then share these files directly or through platforms designed for selling Lightroom presets.
Frequently Asked Questions
How Can I Recover Deleted Photos in Lightroom?
If you've deleted photos in Lightroom, don't worry! First, check your backups—if you've been diligent with backup strategies, you might find them there. If not, Lightroom's built-in recovery tools can be a lifesaver.
Look in the catalog for any backups of your original files. If they're not in your current catalog, try importing recent backup catalogs. It's a smart move to regularly backup your photos to avoid such scares!
Is Lightroom Compatible With All Camera Models?
You might worry that your camera isn't compatible with Lightroom, but it's likely supported. Lightroom regularly updates to handle a wide range of camera models and their specific file formats.
To guarantee smooth editing, always check the latest camera compatibility checks and supported file formats provided by Adobe. This way, you'll maximize Lightroom's powerful tools to enhance your shots, making every photo look professionally edited, regardless of the camera you use.
Can I Use Lightroom on Multiple Devices With One Subscription?
Yes, you can use Lightroom on multiple devices with just one subscription. Adobe allows you to activate and use your Creative Cloud license on two devices simultaneously, whether they're Mac, PC, or mobile.
This flexibility is perfect for managing your workflow across different devices, ensuring you've got access to your projects whenever you need them. Just remember, subscription sharing isn't meant for simultaneous use by different users.
How Does Lightroom Handle RAW Files Differently From Jpegs?
When you're in the driver's seat with Lightroom, handling RAW files gives you more file flexibility compared to JPEGs. You'll find that RAW allows deeper editing options, enabling you to tweak exposure and color without degrading the image quality.
JPEGs, while easier on storage, don't offer the same breadth of manipulation. This distinction guarantees that your creative vision isn't boxed in, especially when fine-tuning details that matter in professional-grade photography.
What Are the Minimum System Requirements for Lightroom?
To run Lightroom efficiently, you'll need to meet the minimum system specs. Check if your hardware requires upgrades by comparing it against Adobe's recommended performance benchmarks.
Ideally, you should have at least 8 GB of RAM, a modern multi-core processor, and a robust graphics card. Don't forget ample storage space—SSDs are preferred for faster access.
Fulfilling these requirements guarantees that Lightroom operates smoothly, letting you edit photos creatively without hitches.
Conclusion
Ready to maximize your photos? With Lightroom's powerful tools at your disposal, you're on the edge of unlocking your true potential.
Immerse yourself in collections to streamline your workflow, master the art of subtle tweaks and bold transformations with advanced edits, and tailor your export settings for perfect results every time.
Don't just stop at presets—create your own. Embrace the journey of continuous learning and creativity. Your next masterpiece is just a click away.
What'll you create next?

