To master night photography quickly without disrupting your sleep, invest in essential gear like a sturdy tripod and a camera that allows manual setting adjustments. Familiarize yourself with light and exposure; understand how dynamic range and color balance play vital roles in low light. Practice in manual mode to control shutter speed and ISO, minimizing image noise. Plan your photo sessions around moon phases and weather conditions, avoiding light pollution for clearer night skies. Lastly, refine your skills through advanced editing techniques and seek insights from professionals through workshops or online tutorials. By exploring these avenues, you're well on your way to excelling in night photography.
Essential Gear for Night Shots
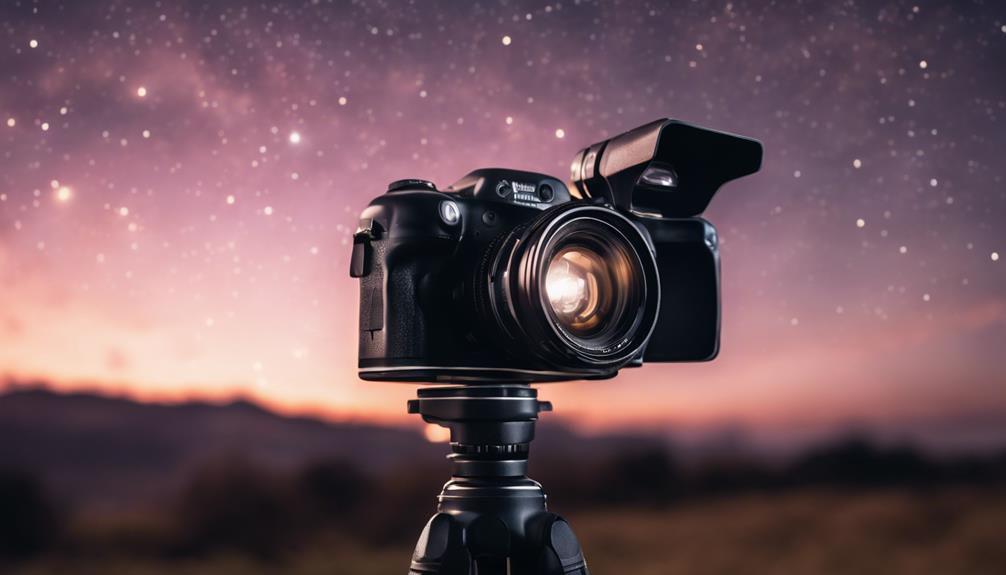
To capture stunning night shots, you'll need a sturdy tripod and a camera capable of manual settings. A solid tripod is vital to guarantee sharp images by providing the necessary stability during long exposures commonly used in night photography. When choosing a tripod, consider one with adjustable legs and a reliable head for precise angling. Tripod stability isn't just about avoiding blurry photos; it's essential for maintaining composition in low-light conditions where even slight movements can disrupt your setup.
Additionally, lens filters can greatly enhance your night photography results. A neutral density (ND) filter, for example, allows you to control the amount of light entering your lens without altering the colors. This is particularly useful under bright light sources in urban night scenes. Lens filters also protect your camera's lens from scratches and reduce glare, which can be a common issue when shooting at night.
Investing in these tools not only improves the quality of your night shots but also expands your creative possibilities. You'll find that with the right equipment, mastering night photography becomes more accessible and enjoyable, letting you capture the night in its full glory without compromise.
Understanding Light and Exposure
Having covered the necessary gear, let's now focus on how light and exposure impact your night photography. At night, understanding and manipulating light and exposure is important due to the lower light levels compared to daytime. You'll need to grasp two key concepts: dynamic range and color balance.
Dynamic range refers to the range of light intensities from the darkest shadows to the brightest highlights your camera can capture. At night, you're often dealing with high contrast scenes where preserving details in both shadows and highlights can be challenging. You'll want to make sure your camera settings maximize the dynamic range, which helps in capturing as much detail as possible without losing information in black or blown-out areas.
Color balance, on the other hand, involves adjusting the colors in your images so they accurately reflect the colors as seen by the human eye. Night lighting conditions—such as street lamps or neon signs—can introduce unusual hues that might seem unnatural. Achieving the right color balance helps in maintaining the realism of your night scenes, making your photos appear more vibrant and true to life.
Mastering Manual Mode
Switching to manual mode gives you complete control over the camera settings, allowing you to fine-tune exposure for perfect night shots. Understanding and adjusting shutter speed is vital in low-light conditions. There's a common myth that slower shutter speeds are always necessary for night photography. However, this isn't always the case. Depending on the scene and your creative vision, sometimes a faster shutter speed is needed to capture sharp images without blurring, especially if you're including moving subjects.
While manual mode offers ultimate control, don't overlook the benefits of aperture priority mode, especially when moving from different lighting conditions. Using aperture priority can help you maintain a consistent depth of field while the camera adjusts the shutter speed for you. This is particularly useful when you're starting out and still learning how each setting affects your image.
To master manual mode, start by setting your ISO as low as possible to reduce noise. Then, adjust your aperture based on the depth of field desired. Finally, modify the shutter speed to achieve the correct exposure. Remember, use a tripod to stabilize your camera at lower shutter speeds, preventing unwanted camera shake and ensuring sharp images.
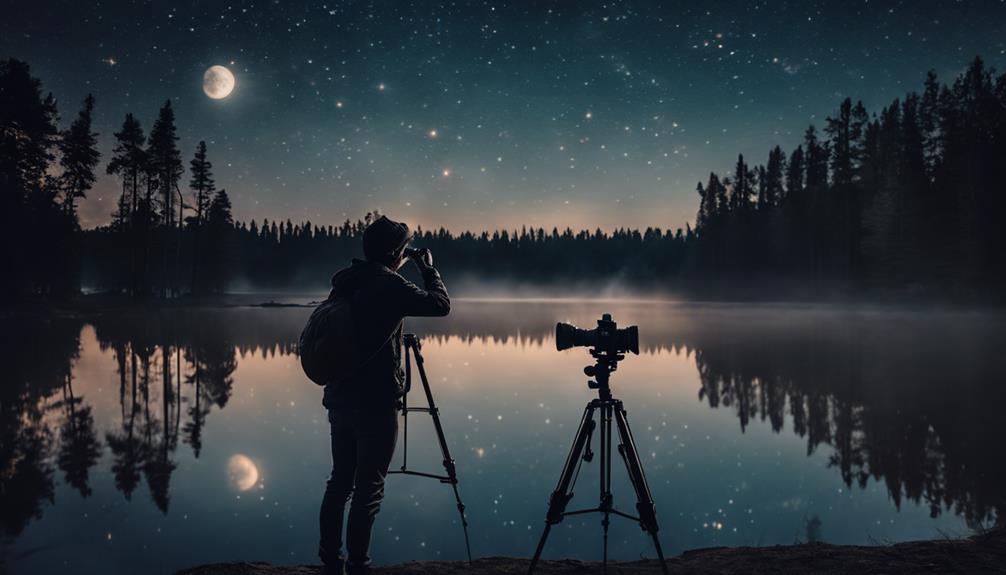
Planning Your Photo Sessions
Planning your photo sessions strategically can greatly enhance the quality of your night photography while preserving your normal sleep schedule. By considering moon phases and weather forecasts, you'll optimize your chances for stunning shots without disrupting your routine too much.
Here's what you should think about:
- Moon Phases: The moon's phase can significantly impact your night shots. A full moon offers bright, diffused light, perfect for illuminating landscapes. On the other hand, a new moon is ideal for capturing the stars without lunar interference.
- Weather Forecasts: Always check the weather before planning your outing. Clear skies are essential for star photography, while cloudy nights might be ideal for creating moody, dramatic scenes.
- Local Light Pollution: Scout locations that are away from city lights to reduce light pollution. Darker skies reveal more stars and are vital for capturing the Milky Way.
- Timing and Location: Align your shoots with astronomical events like meteor showers or planetary alignments for unique captures. Choose locations that offer safe, unobstructed views of the night sky.
Advanced Editing Techniques

Let's explore advanced editing techniques that can elevate your night photos from good to spectacular. Once you've captured your night images, the real magic begins in post-processing. This is where you can truly transform your shots.
First, you'll want to immerse yourself in noise reduction. Night photos often suffer from high noise levels due to low light conditions and high ISO settings. Most photo editing software offers noise reduction tools. Start by gently applying noise reduction to maintain as much detail as possible. Be cautious not to overdo it, as too much noise reduction can lead to a loss of detail and a plastic-like appearance.
Next, delve into color grading. This is where you can set the mood and atmosphere of your nightscapes. Adjust the white balance to enhance the natural colors of the night sky or street lights. Experiment with color curves to deepen the shadows or highlight certain elements. Color grading isn't just about balance; it's about creating a feeling that resonates with the viewer.
Learning From Professionals
Studying the techniques of seasoned photographers can greatly enhance your skills in night photography. Engaging in professional workshops and seeking expert critiques are pivotal steps toward mastering the art. You'll find that these professionals often share insights that aren't readily available in books or online tutorials.
Here are some practical ways you can benefit from their experience:
- Workshops: Participate in professional workshops where you can observe and practice alongside experts. These sessions often include live demonstrations and guided shooting, which are invaluable for honing your skills.
- Online Tutorials: Many professional photographers offer webinars or online courses tailored to night photography. These can be a great way to learn specific techniques directly from experts.
- Photo Tours: Join photo tours led by experienced photographers. This isn't only a chance to shoot spectacular night scenes but also to receive on-the-spot feedback on your technique.
- Critique Sessions: Submit your photos for expert critiques. Constructive feedback can help you see your work from a new perspective and improve your approach to shooting at night.
Frequently Asked Questions
How Does Moon Phase Affect Night Photography?
The moon phase greatly impacts your night photography, primarily through lunar brightness and shadow casting. A full moon offers more light, illuminating landscapes and reducing the need for long exposures or high ISO settings.
Conversely, during a new moon, the sky's darker, allowing stars and the Milky Way to shine brighter, but you'll rely more on artificial lighting or longer exposures to capture your surroundings effectively. Understanding these phases helps in planning your shoots.
Can Night Photography Affect Sleep Patterns?
Diving into night photography can indeed disrupt your sleep patterns. The exposure to light pollution while capturing those stunning night skies can interfere with your natural sleep-wake cycle.
It's important to maintain good sleep hygiene by limiting late-night shoots and allowing your body to wind down afterward. Consider using blackout curtains and eye masks to shield yourself from excessive light and help realign your internal clock for a better night's rest.
What Are Legal Considerations for Night Shooting?
When you're planning night photography, it's important to take into account legal aspects to avoid issues. Initially, always secure property permissions before shooting on private land to prevent trespassing conflicts.
Additionally, familiarize yourself with local light pollution laws, which can restrict the use of artificial lighting in certain areas to prevent disruption to ecosystems and communities.
Adhering to these guidelines ensures you conduct your photography responsibly and legally.
Are There Safety Tips for Solo Night Photographers?
When you're taking photos alone at night, safety becomes paramount. Stay alert in areas with urban lighting; it helps you see potential hazards or suspicious activities. Additionally, carry a flashlight and learn about local wildlife to prevent unwanted encounters.
Always let someone know your location and expected return time. Consider carrying a personal safety alarm and a fully charged phone for emergencies. These precautions will keep you safer during your nighttime photography adventures.
How to Insure Camera Gear for Night Shoots?
To insure your camera gear for night shoots, start by comparing different insurance policies. Look specifically for options that offer extensive theft coverage, which is critical given the higher risks associated with night photography.
Assess each policy's terms on reimbursement for stolen or damaged equipment. It's wise to check for deductibles and whether the insurance covers full replacement value.
Always read reviews to gauge the insurer's reliability and customer service efficiency.
Conclusion
Now you're equipped to conquer night photography! Remember, 80% of professional photographers emphasize the magic of mastering manual mode.
Don't shy away from experimenting with exposure and advanced editing techniques. Plan your shoots around your natural sleep rhythms to keep it enjoyable and sustainable.
Keep learning from the pros and applying what you learn; every shot you take brings you closer to perfection. Night photography isn't just a skill—it's an art that can transform the way you see the world.

