To start with creative long exposure photography, you'll need a stable tripod and manual camera settings. Set your camera on the tripod, switch to manual mode, and dial down the ISO to minimize noise. Select a slow shutter speed, which could range from seconds to minutes, depending on your desired effect. Focus manually in a dimly lit environment, preferably under night skies or in a dark room, to highlight the light trails effectively. Now, grab a light source like LEDs or flashlights, and use continuous movements to "paint" with light in front of your camera. Experiment with different shapes and motions to see diverse light effects. With further exploration, you'll refine these skills to create stunning images.
Understanding Long Exposure Basics
To master long exposure photography, you must first understand the mechanics of how your camera captures light over an extended period. This process hinges on the exposure triangle, comprising shutter speed, aperture, and ISO. Each element interacts to determine the final exposure of your image, but for long exposure, shutter speed is your critical tool.
Shutter speed dictates how long your camera's sensor is exposed to light. In long exposure photography, you're typically using slower shutter speeds to capture the effect of time on your scene. This could range from a few seconds to several minutes, depending on the desired effect. Slow shutter speeds allow more light to hit the sensor, which is ideal in low-light conditions or when you're aiming to blur motion, such as softening water or capturing star trails.
However, manipulating shutter speed affects how sharp or blurred your image becomes. A tripod is essential to stabilize your camera during these prolonged periods to prevent unwanted camera shake. Additionally, consider using a remote shutter release to minimize even the slightest movement when pressing the camera button.
Essential Equipment for Light Painting
You'll need specific tools to explore light painting, starting with a reliable light source such as a flashlight or LED strips. This basic equipment is your starting point. To refine your technique, consider light modifiers, which can shape and direct the light to create more controlled and artistic effects. Exposure meters are also invaluable. They help you determine the correct settings to achieve ideal exposure during long exposure shots.
Here's a quick guide to the essential equipment for light painting:
| Equipment Type | Description | Example Uses |
|---|---|---|
| Light Source | Primary tool for illumination | Flashlight, LED strips |
| Light Modifiers | Accessories to shape or alter light | Diffusers, colored gels |
| Exposure Meter | Tool to measure light and determine exposure | Handheld light meter |
| Tripod | Stabilizes camera for long exposure | Securing camera in fixed position |
| Remote Shutter | Enables shutter control without touching camera | Preventing camera shake |
Setting Up Your Camera
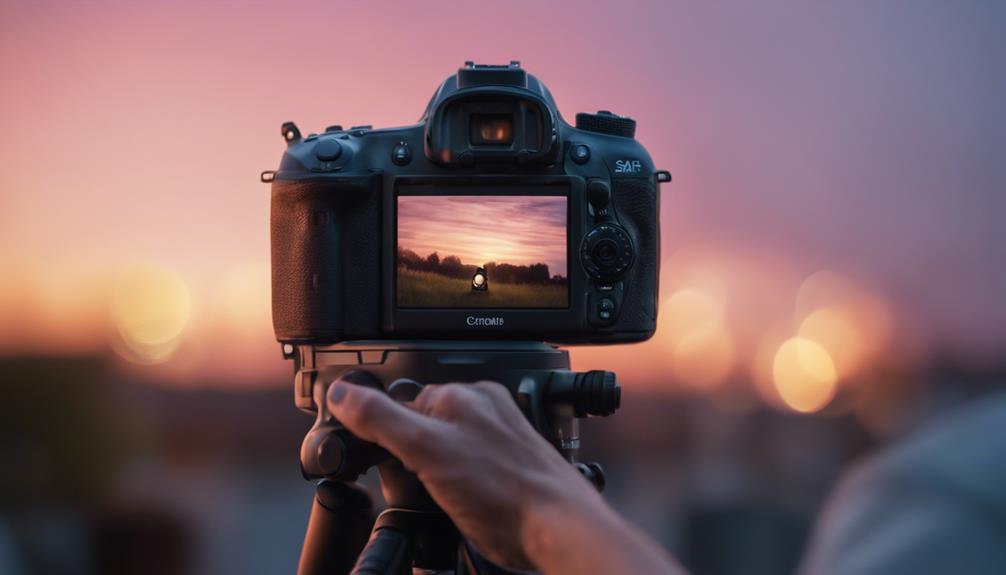
Begin by mounting your camera on a sturdy tripod to guarantee stability during long exposure photography. Stability is vital as even the slightest movement can blur your image during the extended exposure time.
Next, set your camera to manual mode. This allows you full control over the exposure settings, essential for light painting.
Adjust the ISO sensitivity to the lowest possible value, typically ISO 100 or 200. Lower ISO minimizes digital noise, ensuring your image remains crisp and clean, particularly important in low light conditions where noise can be more pronounced.
Next, focus manually on the area where you'll paint with light. Auto-focus might struggle in low light and can inadvertently shift during your exposure, ruining the shot.
Then, tweak the white balance adjustments according to the light sources you plan to use. Light painting often involves colored lights, and setting the correct white balance prevents unwanted color casts and enhances the vibrancy of your colors. A custom white balance setting is recommended for accuracy.
Lastly, set a long shutter speed. Start with a few seconds and adjust as needed based on your light painting tools and artistic vision. This setup forms the foundation of capturing those mesmerizing streaks of light that define light painting photography.
Choosing the Right Environment
Now that your camera is set up for long exposure, choosing a suitable environment will enhance the impact of your light painting. Location scouting is vital; you'll want to find a space that not only complements your desired visual outcome but also guarantees safety and practicality during the shoot. Start by considering public spaces that are less frequented at night to avoid unintended light interruptions and ensure a controlled setting.
Weather considerations are essential. Ideally, you should aim for clear skies if you're shooting stars or moonlight scenes. Cloudy weather, however, can provide a dramatic backdrop for urban settings with diffused city lights. Always check the weather forecast before heading out, as rain or high winds can't only ruin your shoot but also damage your equipment.
Look for locations with interesting structures or natural features that can interact creatively with your light sources. Bridges, old buildings, and tree-lined paths can provide fascinating textures and forms for light trails. Additionally, make sure the area is dark enough to allow the full effect of your light painting without competing with ambient light. This balance is vital for capturing crisp, vibrant images that truly pop.
Techniques for Painting With Light
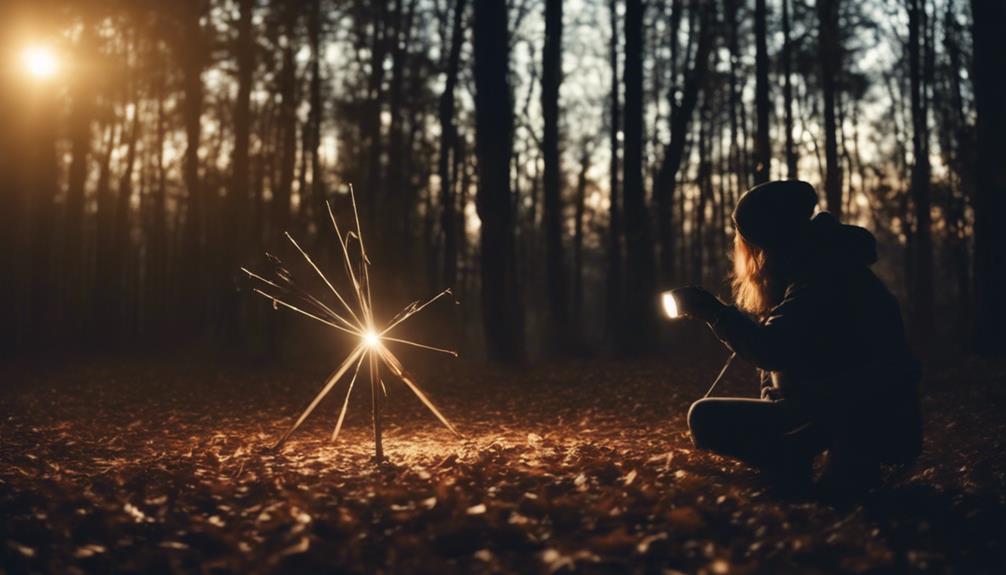
To master light painting, start by selecting an appropriate light source, such as LED lights, flashlights, or even fireworks, to create your desired visual effects. Each light source offers unique properties; LEDs provide sharp, clean light, while flashlights can be adjusted for a softer glow. Fireworks can deliver explosive bursts of light, perfect for dynamic, high-energy images.
Once you've chosen your light source, focus on movement control. This is essential for shaping the light paths in your composition. You'll want to experiment with different motions—swirling, straight lines, or even erratic movements—to see how each affects the outcome of your image. Keep your movements steady and deliberate to maintain consistency in the light trails.
Additionally, consider the speed of your movements. Quick motions create thin, sharp lines, while slower movements result in broader, softer light trails. The duration of exposure in your camera settings will affect how these movements translate into your final image. By mastering these techniques, you'll be able to manipulate light sources and movement control effectively, allowing you to paint with light in a way that captures your artistic vision precisely.
Capturing the Perfect Shot
Once you've mastered the art of light painting, focus your attention on capturing the perfect shot by setting your camera to a long exposure mode. Making sure your camera is in prime condition is vital; this includes regular camera maintenance such as cleaning the lens and sensor to avoid dust spots in your long exposure images. A tripod is essential to stabilize your camera and prevent any unwanted blur.
Next, consider the composition and how your model will interact with the light trails. Model posing is an integral part of the creative process in light painting photography. Direct your model to hold poses for several seconds or move fluidly, depending on the desired effect. The model's clothing and movements can reflect, absorb, or break the light, adding dynamic elements to your photograph.
Use a remote shutter or the camera's timer to minimize camera shake. Set your camera to manual mode; adjust the ISO to a low setting to reduce noise, choose a narrow aperture to ensure sharp focus throughout the scene, and experiment with shutter speeds of 10 seconds or more, depending on the amount of ambient light and the effect you're aiming for. Make slight adjustments as needed based on the preview images.
Post-Processing Tips and Tricks

After capturing your long exposure images, it's important to engage in post-processing to enhance the visual impact of your photos.
First, focus on color correction. This step guarantees that the colors in your photo accurately reflect the scene or convey the mood you're aiming for. Adjust the white balance to rectify any color casts caused by different light sources. Utilize the hue, saturation, and luminance sliders to fine-tune specific colors that dominate your image, enhancing the overall composition.
Next, address noise reduction, which is essential in long exposure photography due to increased sensor sensitivity and longer exposure times. Begin by zooming in on your image to identify areas with noticeable noise. Use the noise reduction tool in your editing software, adjusting the luminance and color noise settings gradually. Be careful not to overdo it; excessive noise reduction can lead to a loss of detail, making your image appear soft.
Lastly, sharpen your image to bring back some of the details lost during the noise reduction process. Apply sharpening selectively using a mask to avoid enhancing noise in smooth areas like the sky. With these steps, you'll elevate the quality of your long exposure shots, achieving a cleaner, more striking result.
Frequently Asked Questions
Can I Use a Smartphone for Long Exposure Light Painting?
Yes, you can definitely use a smartphone for long exposure light painting.
First, you'll need to download one of the many smartphone apps designed to control exposure settings. Look for apps that allow you to manually adjust shutter speed to several seconds.
Secure your phone on a stable surface or tripod to prevent any unwanted movement.
Then, experiment with moving light sources during the exposure to create your light painting effects.
Is Light Painting Possible in Full Daylight?
Light painting during the bright hours of the day presents its own unique daylight challenges.
However, you can certainly make magic happen by using neutral density filters to reduce the amount of light entering your lens. This mimics a darker environment, allowing you to achieve the desired long exposure effect.
You'll need to experiment with different filter strengths to find the perfect balance for the ambient light conditions you're working with.
What Safety Precautions Should I Consider During Light Painting?
When engaging in light painting, you should prioritize personal protection and equipment stability. Wear reflective clothing and use barriers to alert others of your location, especially in low light. Confirm that your camera and any stands are securely fastened to prevent accidental tipping.
Check that all electrical equipment, including your light sources, are safe and insulated to avoid electrical hazards. Always have a first aid kit and a fire extinguisher nearby for emergencies.
How Does Weather Affect Light Painting Photography?
Weather plays an important role in light painting photography, greatly impacting light consistency. On a clear night, you'll find that your light sources maintain steady, predictable trails, ideal for high-quality effects.
Conversely, windy or wet conditions can introduce flicker and variability, potentially ruining your long exposure shots. Always check the forecast before planning your session, as Mother Nature can make or break your artistic endeavors in light painting.
Are There Legal Restrictions on Light Painting in Public Places?
Yes, there are legal restrictions on light painting in public places. You'll need to check local laws regarding permit requirements, as some areas require permits for photography, especially if you're using equipment that might obstruct public spaces.
Additionally, be mindful of creating a public disturbance. Your activities shouldn't interfere with public safety or convenience, so always consider the impact of your setup and the intensity of the light you're using.
Conclusion
Now that you've mastered the dance of light and shadows, your canvas awaits. Refine your skills by experimenting with different light sources and movements to create your own luminous symphony.
Remember, each photo is a unique blend of your technical savvy and creative vision. Keep tweaking your settings and playing with angles until you find that perfect harmony.
And don't forget, the darkroom or digital suite is your final stage for enhancing this visual melody. Keep painting with light, and watch your gallery glow!

