To quickly fix common photo mistakes, you'll need to adjust your camera's settings accurately. For blurry photos, activate your camera's stabilization feature and make sure the shutter speed matches the scene's dynamics. Correct red-eye by redirecting your flash or using post-editing tools to modify the eyes subtly. If your images are overexposed, tweak the exposure levels to recover lost details and balance highlights. Additionally, manage noise by fine-tuning the ISO settings in low light conditions. Mastering these adjustments enhances photo quality greatly, preparing you to explore advanced enhancement techniques that further refine your images.
Understanding Common Photo Errors
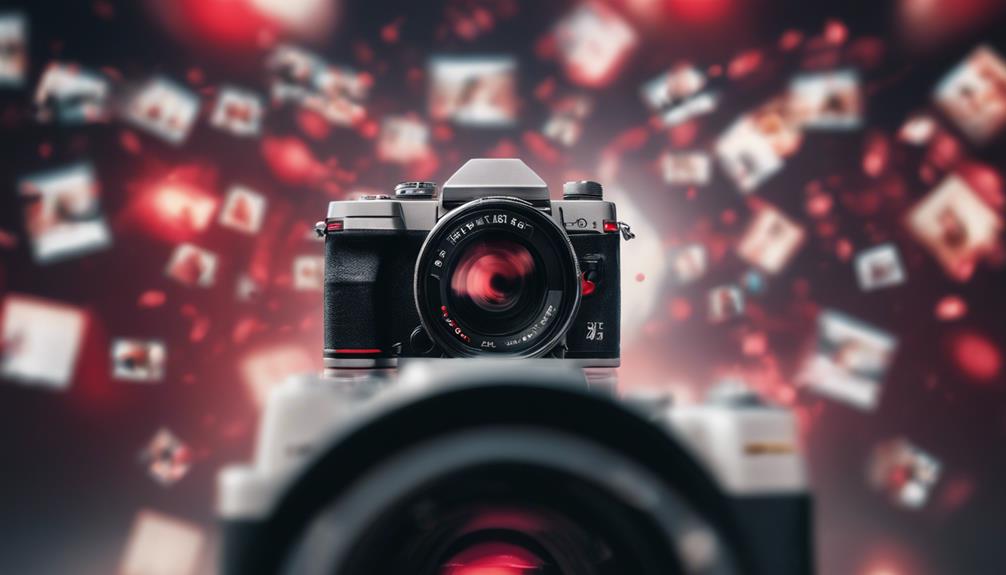
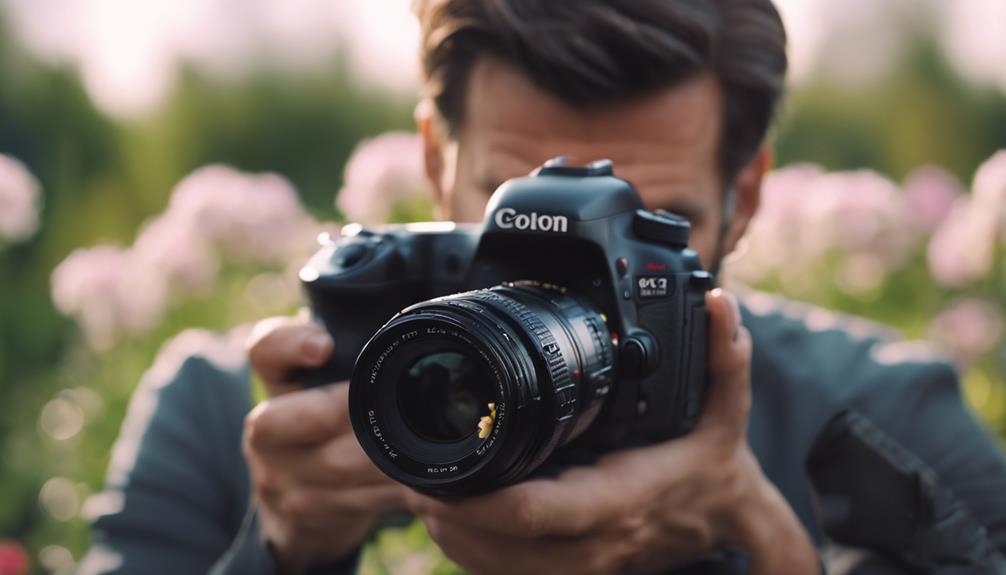
To effectively correct common photo mistakes, you must first identify key errors such as overexposure, poor framing, and motion blur. Understanding these mistakes is vital to improving your photographic skills.
Overexposure occurs when too much light hits the camera sensor, resulting in a loss of detail in bright areas of the image. You'll notice that highlights appear washed out, lacking texture and detail. To combat this, you must learn to adjust your camera's exposure settings carefully, especially the aperture, shutter speed, and ISO.
Poor framing can disrupt the balance of an image, making it less appealing. Mastering image composition is essential; it involves arranging visual elements harmoniously, adhering to guidelines like the rule of thirds, which suggests that you divide the frame into a grid of nine equal sections and place important compositional elements along these lines or their intersections.
Lastly, addressing noise reduction is important, especially in low light conditions. Noise appears as grainy specks or splotches that degrade image quality. Effective noise reduction techniques include adjusting the ISO setting, using a slower shutter speed, and employing post-processing tools designed to minimize noise while preserving as much detail as possible. By honing these techniques, you'll greatly enhance your photographic output.
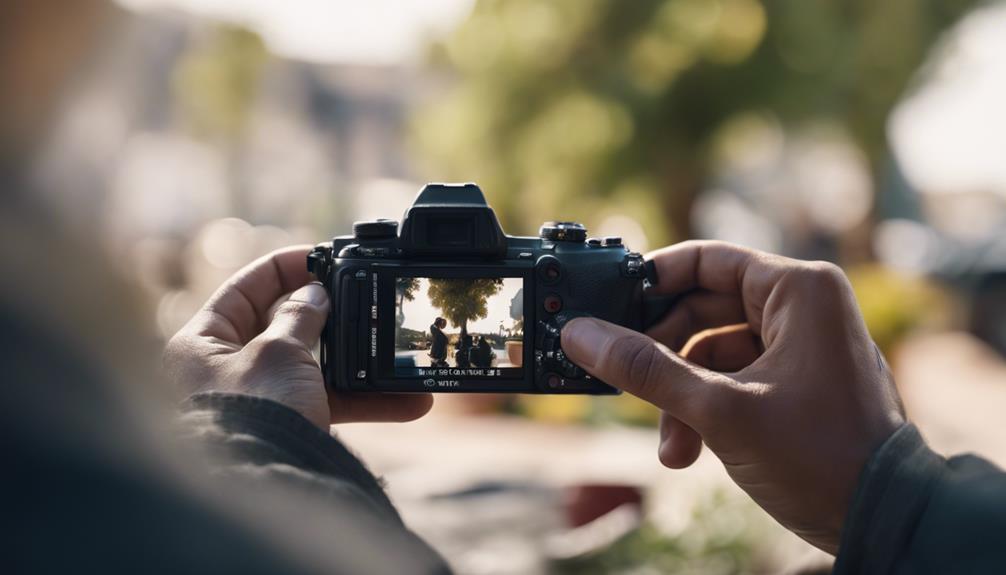
Correcting Blurry Images
Addressing blurry images requires precise adjustments to your camera's focus settings or stabilization features. If you're dealing with motion blur, you'll want to explore the capabilities of your camera's image stabilization (IS) system. Most modern cameras and lenses are equipped with either optical or digital IS. Optical stabilization adjusts the lens path to compensate for camera shake, while digital stabilization crops and shifts the image digitally to achieve the same effect. It's important to activate the appropriate stabilization mode based on the nature of the motion. For handheld shots, optical stabilization is typically more effective.
Furthermore, mastering motion capture techniques can drastically improve the sharpness of your images. Adjusting shutter speed is key—faster speeds are essential to freeze motion. For dynamic scenes, such as sports or wildlife, setting your shutter speed to at least 1/500th of a second can prevent unwanted blur. Also, make sure you're utilizing the correct focus mode. Continuous autofocus (AF-C) is effective for moving subjects, constantly adjusting the focus as your subject moves.
Eliminating Red-Eye Effect
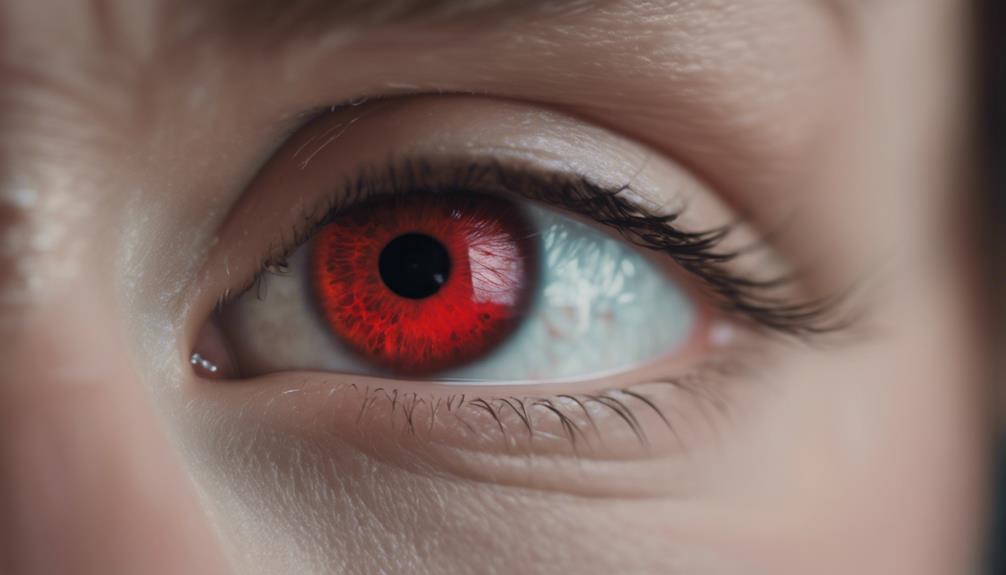
Eliminating red-eye in your photos often involves adjusting the flash settings on your camera or editing the image post-capture. This common issue occurs when the camera flash reflects off the inner back of the eye, casting a bright red color in pupils. To tackle this from the source, consider using flash usage tips like redirecting your flash or employing a diffuser. Redirecting the flash to bounce off a ceiling or wall rather than directly at the subject can greatly reduce red-eye effects by changing the angle of light that enters the eyes.
If you've already captured a photo with red-eye, apply eye correction techniques using photo editing software. Most modern software includes a red-eye tool that specifically targets and corrects this discoloration. You'll want to precisely select the affected areas, usually with an automatic tool or manually with a brush, and adjust the settings to match the natural eye color. Be careful not to overdo the correction to avoid unnatural-looking eyes. Detailed and careful adjustment ensures the eyes look natural and vibrant, preserving the authenticity of your photograph while eliminating unwanted red glares.
Enhancing Poor Lighting
When faced with poorly lit photos, you can significantly improve their quality by adjusting the exposure and brightness settings in your editing software. Begin by gradually increasing the exposure to brighten the image. Be cautious not to overdo it, as this can lead to loss of detail in lighter areas. Instead, focus on achieving a balance that illuminates the subject without washing out the highlights.
Next, enhance shadow details by tweaking the shadows or black point sliders. This step is vital for revealing hidden details in darker areas without affecting the overall tonal balance. It's a sensitive process that requires you to monitor changes closely to maintain the integrity of the original colors and details.
To add depth and dimension, consider contrast boosting. This involves adjusting the contrast slider to make the darks darker and the lights lighter, which can help in defining features and textures that were previously obscured by poor lighting. However, make sure that the adjustments don't introduce unwanted noise or graininess into the image.
Adjusting Overexposed Shots
To correct overexposed photos, you'll need to adjust the highlights and exposure sliders in your editing software to restore detail and balance in the image's brightest areas. This process is vital for highlight recovery and exposure compensation, ensuring that your photos retain texture and color in areas that may initially appear washed out.
When adjusting the exposure slider, you're basically shifting the overall brightness of your image. Pulling the slider to the left will darken the photo, which can help to bring back details lost to overexposure. However, it's important you don't overcompensate, as this can lead to other areas of your image becoming too dark.
The highlights slider specifically targets the brightest parts of your image. Reducing the highlights helps in recovering details that are hidden in overly bright sections. Here's a quick guide to help you get started:
| Adjustment | Slider Direction | Effect |
|---|---|---|
| Exposure | Left | Darkens overall image, enhancing detail in bright areas |
| Highlights | Left | Reduces brightness in highlights, improving detail retention |
| Contrast | Adjust as needed | Balances the image, preventing flatness after other adjustments |
Start with minor adjustments and gradually increase them. Watching the changes in real-time will help you avoid under or over-compensating, ensuring a natural-looking finish.
Fixing Color Imbalances
Color imbalances in your photos can distort the true hues of your scene, but adjusting the white balance and color saturation settings in your editing software can effectively restore their accuracy. Correcting these imbalances is vital to achieving a photo that closely resembles the original environment or subject you captured.
Here are specific steps to fix color imbalances:
- Adjust White Balance: Start by selecting the white balance tool in your photo editing software. You'll often find presets such as 'Daylight', 'Cloudy', 'Tungsten', etc., which you can experiment with to see which setting makes the colors in your photo look the most natural. For manual control, adjust the temperature and tint sliders until the whites in your image appear pure, without any color cast.
- Tweak Color Saturation: Enhance or reduce the intensity of all colors in your image using the saturation slider. Be careful not to oversaturate, as this can lead to unnatural skin tones and other elements.
- Perform Color Calibration: If you're aiming for professional precision, consider using a color calibration tool to adjust your monitor before editing. This guarantees the colors you see are accurate.
- Apply Targeted Color Adjustments: Utilize tools like HSL (Hue, Saturation, Luminance) to fine-tune specific colors without affecting the whole image.
Sharpening Soft Focus
A soft focus can often undermine the impact of your photos, but with precise sharpening techniques, you can greatly enhance clarity and detail. When you're facing images that lack crispness, turning to edge enhancement is a reliable method. This technique works by identifying the borders within your picture—the shifts between different color tones or brightness levels—and increasing their contrast. This makes the borders more defined and the overall image appears sharper.
To begin sharpening a soft focus, you'll first need to select a suitable tool within your photo editing software. Look for options labeled 'Sharpen,' 'Clarity,' or 'Detail Enhancer.' Start with a mild setting to avoid over-sharpening, which can create undesirable noise. Adjust the sliders gradually, observing the changes in real time. Focus particularly on the threshold and radius settings: the threshold controls how much difference in tone or color there needs to be for an edge to be enhanced, while the radius determines the size of the area around each border that's affected.
Additionally, contrast tweaking can complement edge enhancement. By slightly increasing the overall contrast of your photo, you'll add depth and further define details. Pair these adjustments carefully to revive your soft-focused shots without compromising their natural appeal.
Frequently Asked Questions
How Can I Recover Deleted Photos From My Camera?
To recover deleted photos from your camera, you'll need to use specialized recovery software. First, stop using the camera to avoid overwriting data.
Connect the camera or its memory card to your computer. Install a reliable recovery software that supports your camera's file format. Scan the storage device thoroughly.
Once the software finds the deleted photos, review them and select the ones you want to recover, saving them to a secure location on your computer.
What Software Can Batch Process Multiple Photo Corrections?
Ever wished you could fix all your photos at once? You can with software like Adobe Lightroom or Capture One. These powerful automation tools allow you to apply correction presets across multiple images, streamlining your workflow.
They support adjustments for exposure, color balance, sharpness, and more. Just set your parameters, and watch the batch processing magic happen, ensuring consistent quality across all your photographs without manually tweaking each one.
Can Editing Improve the Resolution of Old Photos?
You can improve the resolution of old photos through editing, particularly using upscaling techniques. However, you're limited by the original resolution and quality of the photo.
Upscaling software applies algorithms to estimate and add data that weren't in the original image, enhancing perceived sharpness and detail. But remember, these techniques can't create details that were never captured by the camera; they can only approximate based on existing data.
How Do I Protect My Photos From Unauthorized Use?
To shield your photos from prying eyes, strategically placing watermarks acts as a digital fortress. Embedding copyright notices within your images further fortifies their safety.
You should place watermarks subtly yet noticeably, ensuring they don't mar the visual appeal but remain effective as a deterrent. Precisely detailing copyright information in the image metadata adds an additional layer of protection, technically reinforcing your ownership rights and discouraging unauthorized use.
What Are the Best Practices for Backing up Photos?
To guarantee your photos are safely backed up, you should utilize both cloud synchronization and external drives.
Cloud services offer convenient, off-site storage that protects against physical damage, while external drives provide a tangible backup solution you can control.
Regularly sync your photos to both, maintaining redundancy. Choose reliable cloud providers and high-quality drives.
Set a consistent backup schedule, ideally automating the process to minimize the risk of forgetting.
Conclusion
You've now mastered the art of perfecting your photos, transforming the blurred and flawed into gallery-worthy masterpieces.
With your newfound skills, think of yourself as a modern-day alchemist, turning leaden snapshots into photographic gold.
Whether it's the red-eye of a midnight marauder or the overexposure reminiscent of a desert mirage, you've got the tools to recalibrate and refine.
Keep experimenting, keep adjusting, and watch as your images blossom into their full potential.

