To master manual mode on your camera, you'll need to finely balance the exposure triangle—adjusting shutter speed, aperture, and ISO to each shooting scenario. Start by selecting a shutter speed appropriate for your subject's speed; use a faster speed to freeze motion, and a slower one for motion blur effects. Manipulate the aperture to control depth of field; a lower f-number creates a shallow focus, while higher values increase sharpness across a wider area. Adjust ISO based on available light; keep it low to reduce noise, increasing only as required in dim conditions. Mastering these settings sharpens your technical skills, enhancing not just exposure, but creative control over your images. You'll discover new dimensions of photographic expression by understanding each element's interplay.
Understanding Shutter Speed
Shutter speed, an essential parameter in photography, dictates how long your camera's sensor is exposed to light, greatly impacting both exposure and motion blur in your images. Mastering it allows you to creatively capture motion and control light intake effectively.
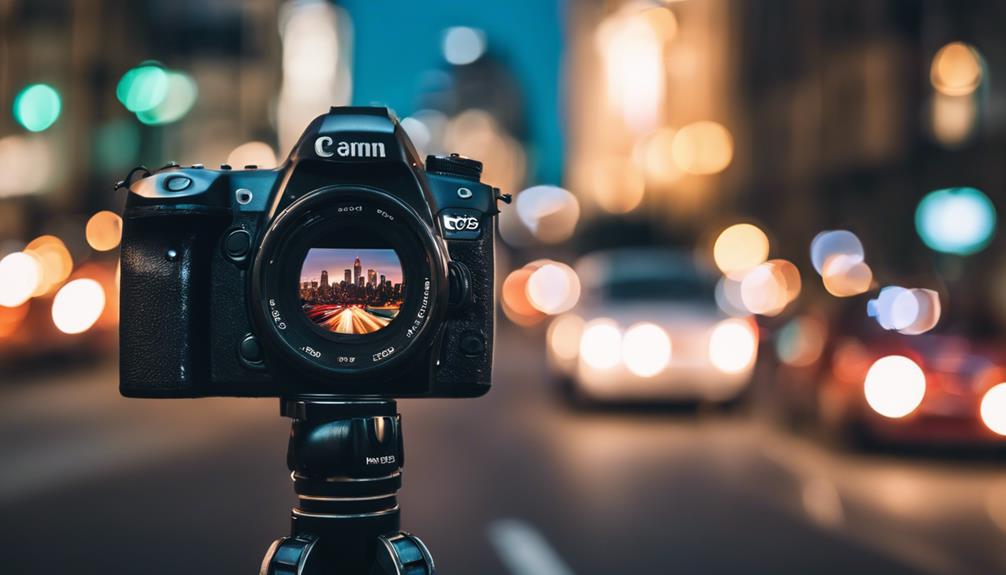
For instance, when you're aiming to freeze fast-moving subjects, such as in sports photography, a high shutter speed is vital. Typically, settings range from 1/500th to 1/2000th of a second for crisp, motion capture without blur. Conversely, to create artistic light trails during night photography, a slow shutter speed is employed. This could range from several seconds to even minutes, allowing moving light sources, like cars, to etch bright paths across the frame.
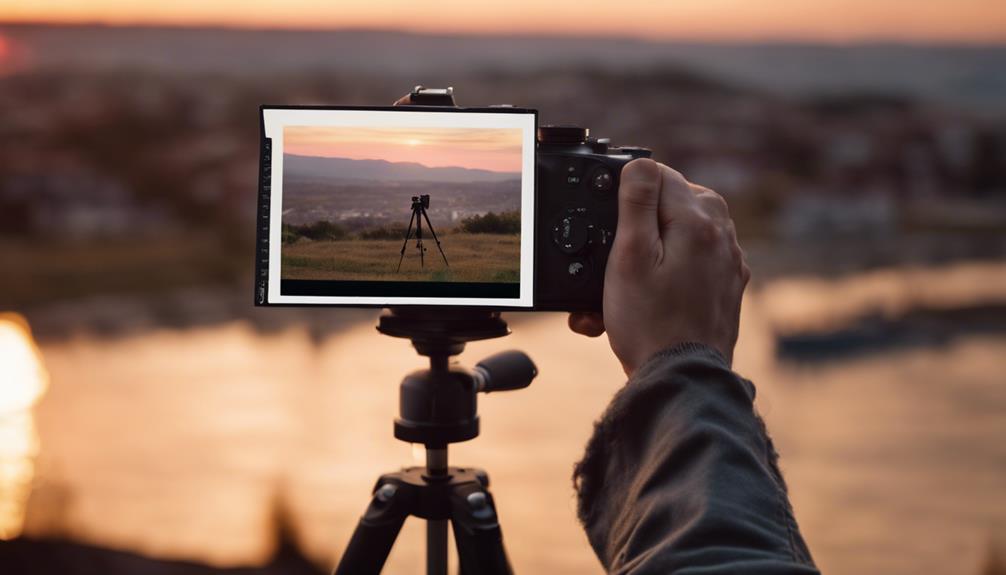
Understanding the relationship between shutter speed and light sensitivity is key; slower speeds demand a lower ISO to prevent overexposure. However, this might necessitate the use of a tripod to mitigate camera shake, which becomes more pronounced at prolonged exposure times.
Experimenting with different shutter speeds not only enhances your technical skills but also expands your creative vision. Whether it's capturing the ephemeral flutter of a hummingbird's wings or the swirling luminescence of city streets, mastering shutter speed transforms how you perceive and capture the world around you.
Exploring Aperture Settings
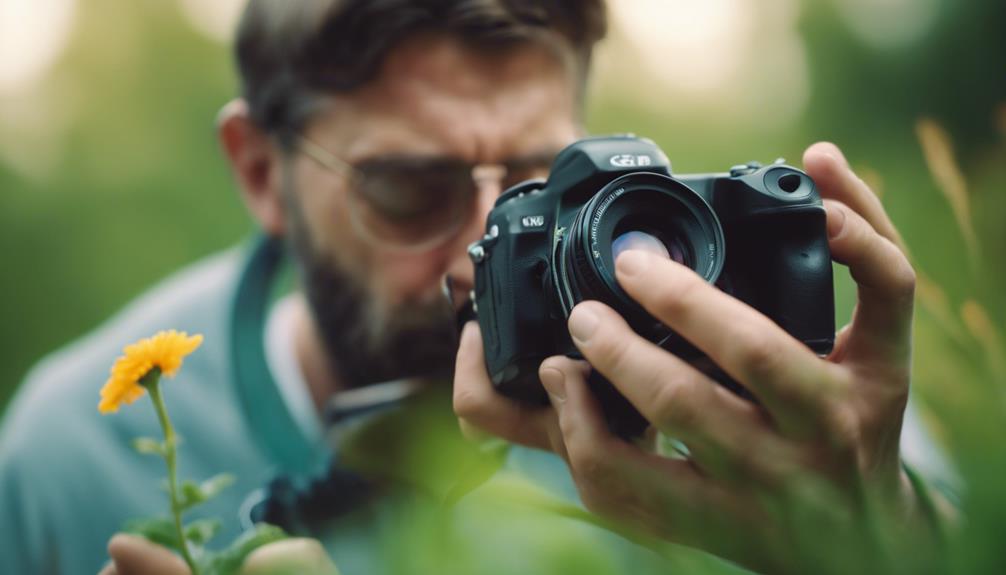
Moving on to aperture settings, you'll discover how this critical component controls the depth of field and influences exposure in your photographs. The aperture, defined by the diaphragm in your lens, regulates how much light reaches the camera sensor. It's denoted as f-numbers such as f/1.4, f/2.8, f/8, etc. A lower f-number means a wider aperture, allowing more light into the camera and creating a shallow depth of field. This effect beautifully blurs the background, emphasizing the subject in sharp focus.
Conversely, a higher f-number indicates a smaller aperture, which reduces the amount of light but increases the depth of field. Everything from the foreground to the background remains in sharp focus, ideal for landscapes or architectural photography.
Choosing the right aperture also depends on your lens choices. Different lenses offer varying maximum and minimum aperture values, which can significantly impact your photographic results. Here's a quick guide:
| Aperture (f-number) | Typical Use Case |
|---|---|
| f/1.4 – f/2 | Portraits, low light conditions |
| f/2.8 – f/4 | Street photography, general use |
| f/8 – f/11 | Landscapes, group shots |
| f/16 and beyond | Architecture, sunbursts effects |
Mastering the use of aperture will enhance your creative control and adapt your photography to any lighting situation or artistic demand.
Mastering ISO Controls

After exploring aperture settings, let's focus on how mastering ISO controls can greatly enhance your ability to shoot in varied lighting conditions. ISO, primarily your camera's sensitivity to light, can be adjusted to optimize exposure. A lower ISO, typically around 100 or 200, is ideal for bright conditions, minimizing grain and preserving image quality. Conversely, in low-light scenarios, you'll need to increase the ISO, though this raises the potential for digital noise.
Understanding ISO noise reduction is essential. High ISO levels can introduce grain or 'noise', detracting from the image's clarity. Modern cameras often feature advanced ISO noise reduction algorithms, which you can activate to mitigate this issue. However, these settings can sometimes soften the image, reducing detail. It's a balancing act between achieving sufficient exposure and maintaining high image quality.
Sensitivity adjustment allows you to fine-tune your camera's reaction to light. Always start with the lowest ISO possible and incrementally adjust only as necessary. This approach helps maintain the sharpest image possible.
Balancing the Exposure Triangle
Mastering the exposure triangle—aperture, ISO, and shutter speed—is essential for harnessing the full creative control of your camera. Each element interacts intricately; adjusting one necessitates compensations in the others to maintain ideal exposure. Aperture affects depth of field and light intake, ISO adjusts the sensor's sensitivity to light, and shutter speed controls the duration that the sensor is exposed to light.
To adeptly balance these elements, you'll need to employ advanced metering techniques. Modern cameras offer matrix, center-weighted, and spot metering, each providing unique benefits depending on your shooting context. Matrix metering is versatile, evaluating light across the frame, which is ideal for evenly lit scenes. Spot metering, however, allows for precise readings from a small area—perfect for high-contrast environments.
Exposure compensation is another pivotal tool at your disposal. It allows you to override the camera's auto-exposure calculation, giving you the ability to fine-tune exposure based on the nuanced demands of your scene. This is especially useful in scenarios where the lighting conditions are deceptive, causing your camera's meter to misjudge the necessary exposure.
Understanding and manipulating these settings enhances your photographic outcomes, providing not just correct exposure but also an avenue to express your creative vision more effectively.
Tips for Focusing Manually
While you've gained proficiency in balancing the exposure triangle, focusing manually offers unparalleled control over the sharpness and specificity of your images. Mastering manual focus not only enhances your technical skills but also expands your creative boundaries. Here are some advanced tips to get you started:
- Utilize Focus Peaking: Most modern digital cameras equipped with an electronic viewfinder (EVF) or LCD screen feature focus peaking. This tool highlights the edges of highest contrast in your scene in real-time with a colored outline when they come into focus, allowing for precise control.
- Calculate Hyperfocal Distance: Understanding and using hyperfocal distance ensures maximum depth of field in landscape photography. This technique involves focusing on a point which allows everything from half this distance to infinity to be sharply captured.
- Magnify the View: Use your camera's magnification feature to zoom in on your focus point in the live view screen. This is particularly useful for macro or detailed shots where focusing errors can be more pronounced.
- Adjust Diopter for Your Vision: Make sure your camera's diopter is adjusted to your eyesight. This small adjustment to the viewfinder helps in fine-tuning the focus to your personal vision, enhancing the accuracy when focusing manually.
These tools and techniques can greatly improve your manual focusing accuracy, making your images stand out with professional sharpness and clarity.
Creative Uses of White Balance
Experimenting with white balance settings can transform the mood and tone of your photographs, offering an important tool for creative expression. By manually adjusting white balance, you're effectively altering the color temperature of your images, which can be vital for mood manipulation and color experimentation.
White balance doesn't just correct color casts caused by different light sources but can be deliberately skewed to produce visually striking effects. For instance, setting your camera's white balance to a cooler temperature can imbue a scene with a cold, almost melancholic feel, which might be perfect for capturing wintry landscapes or enhancing the bleakness of an abandoned building.
Conversely, warming up your white balance can give your photos a cozy, inviting glow, ideal for golden hour photography or giving portraits a flattering, sun-kissed look. This technique involves subtle shifts in Kelvin values to achieve the desired emotional impact without overtly distorting the scene's authenticity.
Here's a table illustrating how different white balance settings can evoke specific emotions:
| White Balance Setting | Emotional Impact |
|---|---|
| Cool (6000K – 7000K) | Isolation, Sadness |
| Neutral (5000K) | Balance, Realism |
| Warm (3000K – 4000K) | Warmth, Nostalgia |
Leveraging these settings allows you to control the narrative and emotional depth in your visual storytelling.
Advancing With Practical Exercises
Now that you've explored the creative potential of white balance, let's apply these concepts through targeted practical exercises. These exercises are designed to enhance your understanding of lens choices and composition techniques, pushing you to leverage manual mode to its fullest.
- Lens Calibration: Start by testing different lenses in similar lighting conditions to observe how each lens affects color temperature and contrast. Note how prime lenses might enhance sharpness and clarity, contrasting with the broader range some zoom lenses offer.
- Dynamic Range Exploration: Experiment with shooting in high-contrast environments to practice balancing the light and dark areas in your images. Adjust the ISO, aperture, and shutter speed to find the best settings that preserve details in both shadows and highlights.
- Composition Drills: Focus on applying the rule of thirds, leading lines, and framing. Shoot the same scene using various compositional techniques to see how these changes alter the viewer's perception of the image.
- Manual Focus Control: Switch to manual focus and practice adjusting focus to different subjects at varying distances. This will help you understand the depth of field and its impact on both the aesthetic and narrative quality of your photos.
Frequently Asked Questions
How Does Weather Affect Manual Mode Settings?
Weather greatly influences your manual mode settings, especially through temperature effects and overall weather impact. In colder environments, you'll find that battery life diminishes rapidly, necessitating quicker shooting sessions or spare batteries.
Higher humidity can fog your lens, requiring frequent cleaning. Adjusting ISO settings becomes vital in varying light conditions caused by weather changes, ensuring you maintain image quality.
Always monitor and adapt to these variables to optimize your camera's performance.
Can Manual Mode Improve Mobile Phone Photography?
Yes, utilizing manual mode on your mobile phone can greatly enhance your photography. It gives you precise exposure control, allowing you to adjust shutter speed, aperture, and ISO to suit specific lighting conditions.
This level of control not only improves image quality but also offers creative flexibility, enabling you to experiment with depth of field and motion blur.
Mastering these settings can elevate your photographic technique, capturing images that truly stand out.
What Are the Best Lenses for Manual Shooting?
Imagine capturing a majestic eagle in flight with perfect clarity. For manual shooting, prime lenses, like a 50mm f/1.8, offer sharpness and a wide aperture, critical for low light and depth of field control.
Conversely, a 70-200mm zoom lens provides exceptional flexibility, allowing you to adjust framing and composition swiftly without changing your position.
Both options greatly enhance your photographic acumen, leveraging prime advantages and zoom flexibility effectively.
How to Manually Shoot Fast-Moving Subjects Effectively?
To effectively shoot fast-moving subjects manually, you'll need to master shutter speed and focus techniques. Set a high shutter speed to freeze motion, typically at least 1/500th of a second, depending on the subject's speed.
Utilize advanced focus techniques such as predictive autofocus or manual pre-focusing at a predetermined point where you anticipate the subject will move. This combination guarantees sharp images and captures the dynamic essence of your fast-moving subject.
Does Manual Mode Drain Battery Faster Than Auto Mode?
You might think that manual mode drains your camera's battery faster, but that's not necessarily true. Battery efficiency in manual mode depends on how frequently you make manual adjustments.
If you're constantly tweaking settings, you could see a quicker battery drain compared to auto mode, where the camera automates most decisions. However, with efficient management of settings, manual mode can be as battery-friendly as auto mode, allowing for prolonged shooting sessions.
Conclusion
Now that you've explored manual mode, you're positioned to revolutionize your photography. Imagine capturing the ethereal glow of a cityscape at twilight, precisely balancing ISO, shutter speed, and aperture for that perfect shot.
Remember, mastering these settings isn't just about technical prowess; it's about unlocking your creative potential. Experiment with different scenarios, refine your focus, adjust your white balance creatively, and keep practicing.
Your dedication will soon translate into stunning, impactful images that fully embody your artistic vision.

