To guarantee stunning photos on auto mode, you need to focus on lighting and composition. Shoot during the golden hour for soft, flattering light, or on overcast days to minimize harsh shadows. When composing your shot, use the rule of thirds to arrange elements pleasingly. Avoid cluttered backgrounds by choosing simpler scenes or repositioning your subject. For capturing movement, pre-focus where the action will occur and use burst mode to snap multiple shots. Make sure your camera's ISO and shutter speed adjust automatically to maintain image quality. With these simple steps, you're all set for photography success and excited to uncover even more insights.
Understanding Auto Mode
Auto mode empowers you to capture incredible photos effortlessly by automatically adjusting the camera settings based on the scene and lighting conditions. When you flip your camera to auto mode, it takes the guesswork out of photography. You don't have to worry about tweaking ISO sensitivity, shutter speed, or aperture. Your camera intelligently assesses the environment and makes those adjustments for you.
Understanding how auto mode adjusts ISO sensitivity is key. ISO measures your camera's sensitivity to light. In darker situations, the camera increases the ISO so that your sensor can capture more light, ensuring your photos aren't underexposed. Conversely, in bright conditions, it lowers the ISO to prevent overexposure. This dynamic adjustment helps maintain the quality and clarity of your images under varying lighting scenarios.
Embrace auto mode as your tool to learn and grow in photography. It's your gateway to understanding how different camera settings affect the outcome of your photos. As you notice the changes auto mode makes, you'll start to see patterns and develop an intuition for photography. This knowledge paves the way to experimenting with manual settings, deepening your skills, and expanding your creative horizon.
Best Lighting for Auto Mode
While you've seen how auto mode adjusts to different lighting, it's important to know the types of lighting that best complement this feature. Understanding ideal lighting conditions can elevate your photography, allowing you to capture stunning images effortlessly, even as a beginner. Let's explore the best lighting scenarios for using your camera's auto mode.
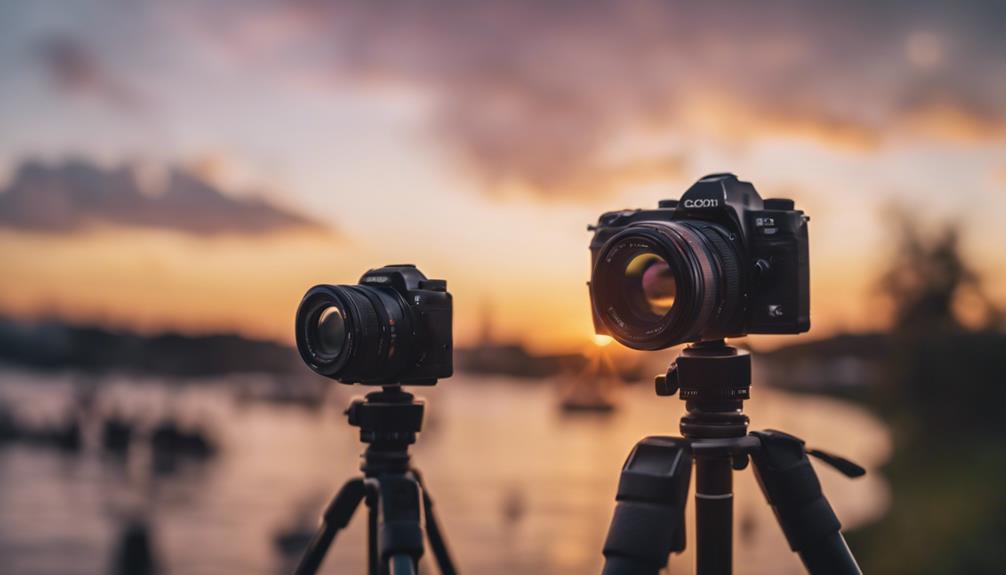
- Golden Hour: Just after sunrise or before sunset, the light is soft, diffused, and warm. This magical lighting minimizes harsh shadows and highlights, perfect for capturing the delicate interplay of light and shadow. Shadow play is at its peak, giving your photos a dreamy, professional look.
- Overcast Days: Cloudy skies act like a natural diffuser, spreading the light evenly and reducing the intensity. This eliminates extreme contrasts and shadows, making it ideal for portraits and landscapes where you want subtle textures and tones to stand out.
- Shaded Areas: On bright days, find a spot in the shade. Here, the light is less intense, and you can avoid the harsh, direct sunlight that often overexposes parts of your shots in auto mode.
- Using Reflective Surfaces: Incorporate reflective surfaces like water, mirrors, or glass to creatively enhance natural light. These can bounce light into darker areas, softly illuminating your subject, and adding an artistic flair to your photos.
Composing Your Shot
To master the art of photography, start by thoughtfully composing your shot, ensuring each element contributes harmoniously to the whole scene. Even when your camera is set to auto mode, you can create compelling images by applying simple composition techniques like the rule of thirds. Imagine dividing your frame into a grid with two horizontal and two vertical lines, creating nine equal parts. Place your main subject at one of the intersections of these lines to achieve a more natural and aesthetically pleasing arrangement.
Pay close attention to background selection as well. A cluttered or distracting background can detract from your subject, making your photo feel chaotic. Look for simple, unobtrusive backgrounds that enhance your main subject rather than competing with it. Sometimes, repositioning yourself just a step or two can dramatically change the background and improve the overall impact of your image.
Capturing Movement
Capturing movement with your camera, especially in auto mode, requires you to anticipate the action and adjust your positioning swiftly. You might think capturing motion blur or freezing a fast-moving subject is primarily important for professional photographers, but you can achieve stunning results with a few simple tricks.
Here are four essential tips to help you capture movement effectively:
- Pre-focus on the Area of Action: Use your camera's autofocus to pre-focus on the area where you expect the movement to occur. This helps in reducing delay when the action starts, ensuring your subject stays in sharp focus.
- Utilize Burst Mode: Engage burst mode to take multiple shots in quick succession. This increases your chances of capturing the perfect moment, especially during fast-paced scenarios.
- Understand Shutter Speed: In auto mode, your camera adjusts shutter speed based on lighting and movement. However, knowing that faster shutter speeds are better for freezing action can help you anticipate how your camera reacts.
- Enable Focus Tracking: If your camera has focus tracking, turn it on. This feature allows the camera to maintain focus on moving subjects automatically, which is vital for capturing sharp images in dynamic situations.
Tips for Indoor Photos

Shooting indoors presents unique challenges, but with the right techniques, you can capture brilliant and atmospheric photos. One important aspect to master is color balance. Indoor lighting can cast various hues that distort the true colors in your images. Most cameras on auto mode have a setting for white balance that adjusts to typical lighting scenarios such as fluorescent or tungsten. Experiment with these to see which setting reflects the most accurate colors in your environment.
Next, consider your prop arrangement. The way you place objects within your frame can transform a mundane shot into a storytelling masterpiece. You don't need elaborate setups; sometimes, rearranging furniture or decluttering a space can enhance the aesthetic appeal of your photo. Try placing your main subject near a light source, like a window, which not only highlights the subject but also adds a soft, natural glow to your shot.
Maximizing Outdoor Potential
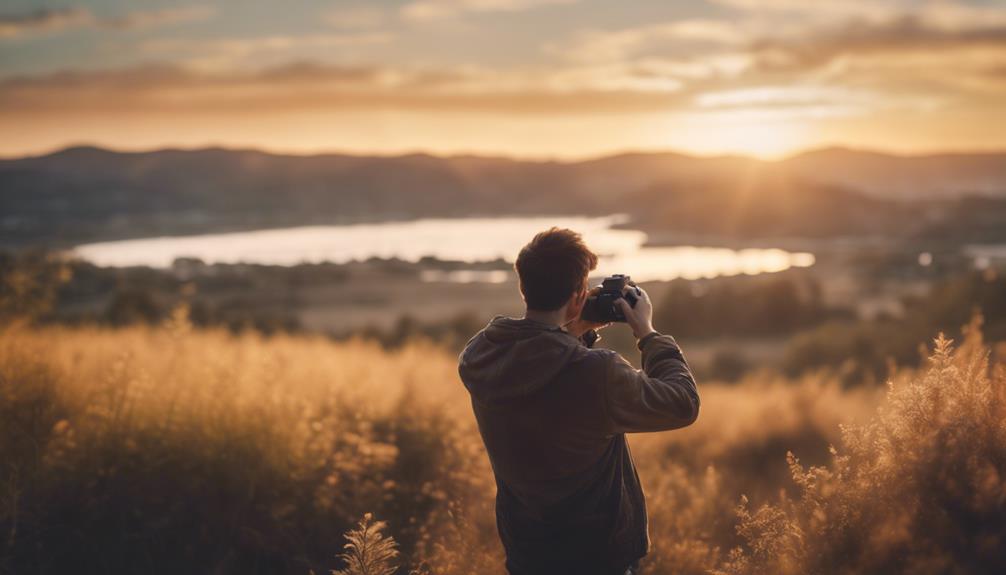
Exploring the great outdoors offers endless opportunities to capture stunning, dynamic photographs that highlight the beauty of nature. When you're out there, every element, from the sweeping landscapes to the intimate details of a leaf, tells a part of the story. To truly maximize your outdoor photography potential, especially using auto mode, you need to understand how different conditions and settings can significantly affect your images.
Here are four vital tips to help you take advantage of the great outdoors:
- Chase the Light: The golden hours—just after sunrise and before sunset—provide soft, warm lighting that enhances textures and colors. Plan your shoots around these times to capture the best natural light.
- Study Weather Patterns: Weather influence can make or break your photo. Overcast skies create diffused light which is perfect for portraits and avoiding harsh shadows, while sunny days are great for vibrant landscapes.
- Scout Scenic Locations: Do some research to find the most picturesque spots. Lakes, mountains, and fields can serve as majestic backdrops that elevate your photos.
- Use Natural Elements: Incorporate elements like water, rocks, or trees to frame your subject or lead the eye through the composition.
Reviewing and Editing Shots

Why not take your captured images to the next level by reviewing and editing them effectively? After snapping those shots in auto mode, it's essential to review them with a critical eye. Start by checking the composition and exposure. Is the subject well-lit? Are the foreground and background balanced? These are elements you can tweak to transform a good photo into a great one.
Now, let's explore the world of color theory. Understanding the emotional impact of colors can dramatically enhance your images. Warm tones like red and yellow evoke feelings of warmth and comfort, while cool tones such as blue and green convey calmness and tranquility. Utilize this knowledge to adjust the hues and saturation in your editing software, creating a mood that complements your subject perfectly.
Additionally, be mindful of image formats. JPEGs are versatile and widely used, but if you're looking to preserve the highest quality, consider shooting or converting your images to RAW format. RAW files capture all the data from your camera sensor, giving you more flexibility and control in post-processing.
Editing isn't just about correction—it's an opportunity to infuse your personality into your photos. So, experiment and let your creativity flow!
Frequently Asked Questions
What Are Common Mistakes When Using Auto Mode in Photography?
When you're using auto mode, a common mistake is neglecting composition. Don't just point and shoot; consider the layout of your shot.
Overlooking focus is another pitfall. Make sure your camera's autofocus isn't zeroing in on the wrong subject.
By paying attention to these elements, you'll elevate your photos from ordinary to engaging.
How Does Weather Affect Auto Mode Performance?
Weather sensitivity drastically affects your camera's auto mode performance. In extreme conditions, it struggles with auto adjustments, like optimizing exposure or selecting the right white balance.
If you're shooting in harsh sunlight or low light, the camera mightn't capture the scene as you see it. To combat this, check your results often and adjust your position or timing to harness natural light effectively, ensuring your photos remain vibrant and true to life.
Can Auto Mode Handle Mixed Lighting Conditions Effectively?
Auto mode can tackle mixed lighting, but sometimes you'll notice the shadows of a sunny park contrasting with the bright areas.
To enhance your shots, use exposure compensation to adjust the lighting balance. This tweak guarantees your camera doesn't overexpose sunlit spots or lose detail in darker sections.
Mastering this can transform your photos from good to breathtaking, inspiring you to capture and share your unique visual stories.
Are There Any Quick Fixes for Auto Mode Failures?
If auto mode fails to capture the scene as you'd like, you can quickly adjust the settings. Try manual overrides to tweak specific parameters like ISO or shutter speed.
Also, using exposure compensation helps correct the brightness, ensuring your photos don't turn out too dark or too light.
These adjustments empower you to handle challenging lighting conditions or dynamic subjects more effectively, bringing your creative vision to life even when auto mode falls short.
How Do Different Camera Brands Vary in Auto Mode Capabilities?
Different camera brands vary in auto mode due to their unique brand algorithms and sensor sensitivity. You'll find that some brands prioritize capturing vibrant colors and fast autofocus, while others excel in low-light performance.
Conclusion
Now that you've dipped your toes into the vast ocean of photography, remember, auto mode is your best friend on this journey. Like a trusted guide, it simplifies the complex, letting you focus on capturing life's fleeting moments beautifully.
Whether indoors or out, keep experimenting with light, composition, and movement. Don't forget to review and tweak your shots; every edit brings you closer to mastery.
So, keep shooting, keep learning, and let your creativity soar!

