To capture the Milky Way's awe-inspiring beauty, you'll need to meticulously choose your equipment and settings. Start with a wide-angle lens, around f/2.8, and a sturdy tripod to handle long exposures. Set your camera to a high ISO, between 1600 and 6400, balancing clarity with minimal noise, and utilize shutter speeds of 20-25 seconds to avoid star trails. Planning is essential; aim for new moon phases and scout locations far from light pollution. Enhance your shots with careful post-processing, balancing color and noise reduction for crisp images. As you master these techniques, the universe's marvels will unfold before you.
Choosing Your Equipment
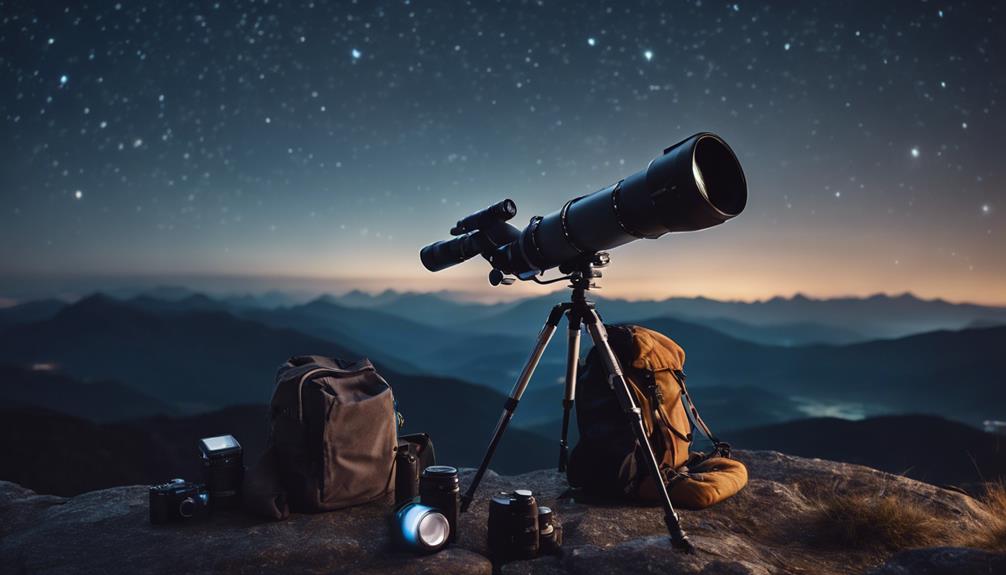
Selecting the right equipment is essential in astrophotography, as your choices directly influence the clarity and detail of the celestial wonders you aim to capture. The interplay between lens compatibility and tripod stability can't be overstated, shaping not just the quality but the very possibility of your night sky images.
When you're evaluating camera lenses, consider the focal length and aperture. Wide-angle lenses with a large aperture, such as f/2.8 or wider, are ideal for expansive night skies, allowing more light to hit your sensor and capturing finer details of the Milky Way. However, the compatibility of the lens with your camera body is important. Make sure that the lens not only fits physically but also communicates well with your camera's electronics for excellent functionality.
Equally important is your choice of tripod. The stability of your tripod determines your long exposure's success, as even the slightest movement can blur your stars into streaks rather than sharp points. Invest in a robust tripod that promises steadiness in varied terrains and withstands the occasional gust of wind. A good tripod should be both sturdy and easily adjustable, letting you experiment with angles and positions without compromising on stability.
Understanding Camera Settings
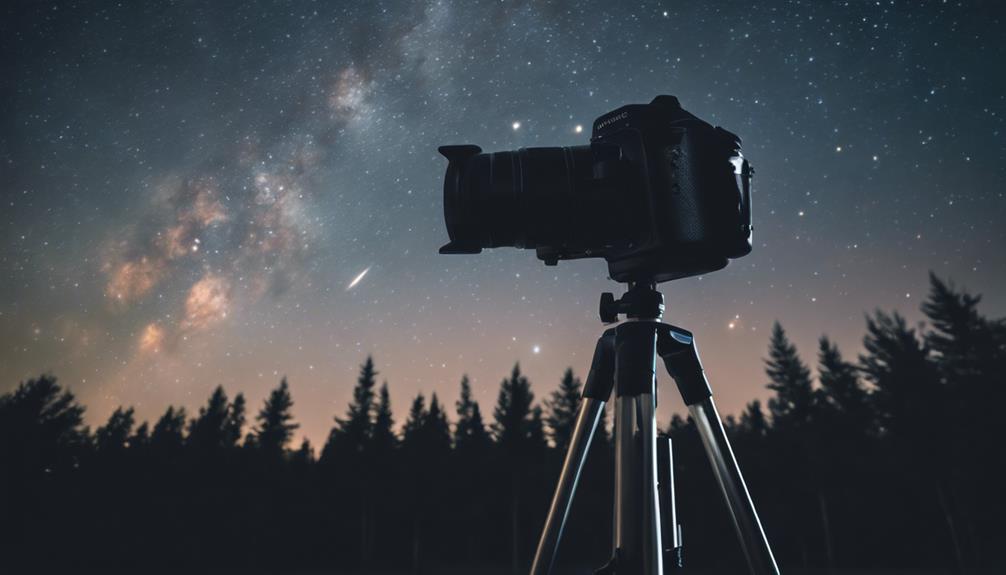
Mastering your camera's settings is essential for capturing the ephemeral beauty of the night sky in astrophotography. You'll need to strike a delicate balance between ISO sensitivity and shutter speed to achieve the clarity and detail that make celestial images truly captivating.
ISO sensitivity is your camera's ability to capture light. In dark environments, like when shooting stars or the Milky Way, you'll be tempted to push the ISO higher. However, be wary; higher ISO settings can lead to increased noise, which muddles the crispness of your stars. Typically, you'll start experimenting with settings anywhere from ISO 1600 to 6400, depending on your camera's capabilities and the level of ambient light.
Shutter speed, on the other hand, dictates how long your camera's sensor is exposed to light. Longer exposures allow more light to reach the sensor, brightening your image, but they also capture the movement of the stars, creating trails. To capture sharp stars, start with exposures around 20-25 seconds. Remember, the exact settings will vary based on your focal length and the celestial objects you're aiming to capture.
Balancing these settings isn't just technical—it's an art form. Each adjustment you make brings you closer to revealing the night sky's majestic storytelling.
Planning Your Photo Session
To guarantee a successful astrophotography session, you'll need to meticulously plan the time and location that align with prime celestial conditions. Weather forecasting becomes your indispensable tool, allowing you to predict clear skies on nights when the cosmos reveals its splendor. Equally important are the Moon phases; a new moon is ideal, offering the darkest backdrop for your celestial captures, accentuating the vibrant constellations against the cosmos' deep canvas.
You'll find that timing your sessions around these elements isn't just practical—it's transformative. The alignment of perfect weather and minimal moonlight can turn a simple night out with your camera into a profound encounter with the universe. Below is a table that evokes the emotion tied to the phases of the moon, reminding you of the perfect moments to capture the stars:
| Moon Phase | Emotional Impact | Ideal for Shooting |
|---|---|---|
| New Moon | Awe and wonder | Deep sky objects |
| Waxing Crescent | Anticipation | Moon details |
| First Quarter | Intrigue | Lunar landscapes |
| Waxing Gibbous | Excitement | Brighter planets |
| Full Moon | Majesty | Moon itself |
Planning with such detail ensures you're not just taking photos; you're making memories with the stars.
Selecting the Right Location
After pinpointing the ideal time for your astrophotography, you'll next need to find the perfect spot that complements the celestial conditions you seek. The most essential factor here is minimizing light pollution, which can greatly degrade the quality of your celestial images. Cities and densely populated areas emit a vast amount of artificial light, which obscures the subtler lights of the stars and galaxies. You'll want to aim for locations known for their dark skies. Tools such as light pollution maps can be invaluable in helping you identify these areas.
Equally important are the weather conditions of your chosen location. Clear skies are a must for astrophotography, as clouds can obstruct your view of celestial bodies. Before setting out, it's wise to consult detailed weather forecasts and perhaps even subscribe to alerts that notify you of ideal conditions. Sites with higher altitudes might offer clearer skies, though they also pose challenges like increased wind or colder temperatures.
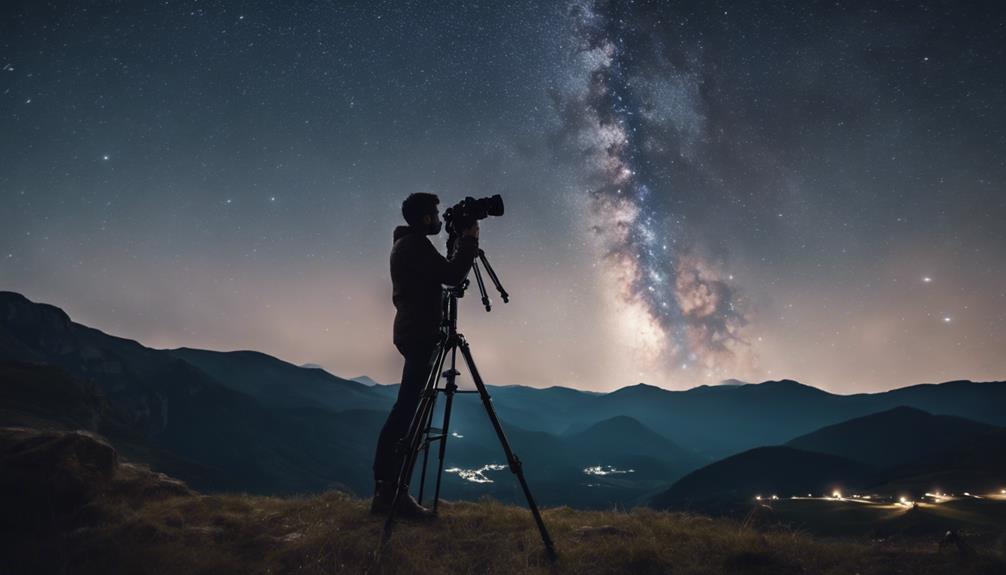
Mastering Long Exposure
Long exposure techniques transform mere snapshots into mesmerizing records of time's passage, capturing the ethereal beauty of celestial movements across the night sky. You'll find that mastering these techniques is vital to producing stunning astrophotographs that are rich in detail and free of the distractions that shorter exposures often yield.
The exposure triangle—comprising shutter speed, aperture, and ISO—is fundamental in long exposure astrophotography. You'll need to manipulate these settings to achieve a balance that allows enough light without introducing too much noise. Start with a wide aperture to gather as much light as possible, then adjust the shutter speed for a long exposure, often several seconds to minutes, to trace the stars' paths. Keep your ISO as low as feasible to minimize noise.
Noise reduction is essential in long exposures. Modern cameras often offer built-in noise reduction technologies that activate on long exposures. Additionally, shooting in RAW format allows you greater control in post-processing to fine-tune noise reduction without compromising the integrity of the stars or the Milky Way's delicate structures.
Composition Techniques
Having mastered the technical settings for long exposure, you'll now utilize composition techniques to enhance the visual impact of your celestial photographs. Understanding and applying these principles can dramatically transform your shots from simple snapshots to profound portrayals of the night sky.
Here are some key techniques to explore:
- Rule of Thirds: Divide your frame into a grid of nine equal segments by using two horizontal and two vertical lines. Place important elements of your scene at the intersections or along these lines to create a balanced, engaging image.
- Leading Lines: Use natural or artificial lines in your landscape to lead the viewer's eye towards the main subject or deeper into the scene. This could be a winding river, a trail, or even a beam of light.
- Foreground Interest: Adding elements in the foreground can add depth and context to your celestial scenes. A lone tree, a silhouette of a mountain, or interesting rock formations can anchor your composition.
- Frame within a Frame: Use elements within your scene to create a natural frame around your subject, focusing the viewer's attention.
- Symmetry and Patterns: Symmetrical compositions or repeating patterns can be visually striking and add a sense of harmony and intrigue to your photographs.
Each of these techniques requires practice and a keen eye for detail. As you grow more comfortable with these methods, you'll find that your astrophotography becomes more compelling and artistically satisfying.
Post-Processing Basics
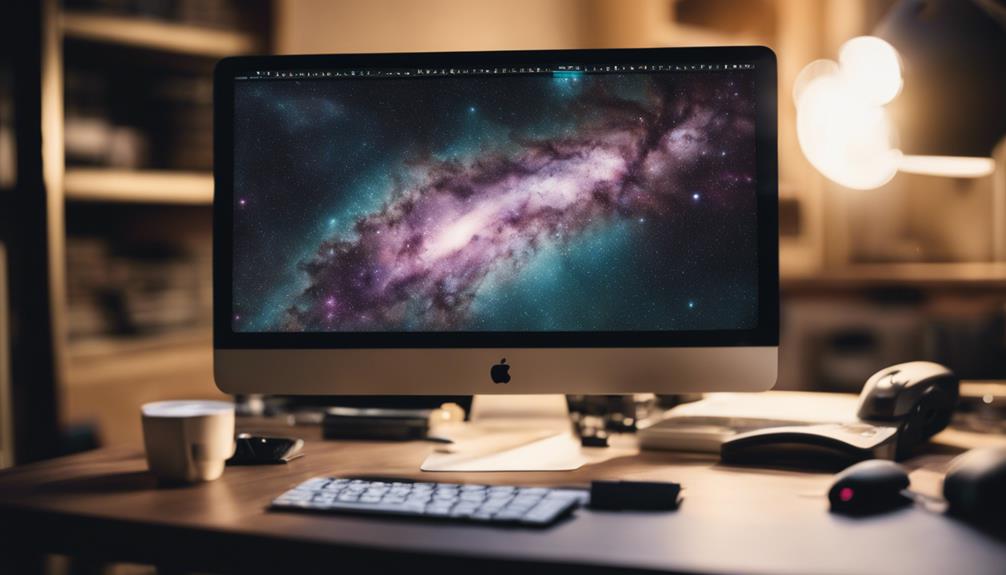
Once you've captured the celestial wonders through your lens, the next essential step is mastering post-processing to truly bring out the vibrancy and depth of the night sky in your images. This phase is as vital as the capture itself, as it's where you refine and enhance the raw beauty of your shots.
Starting with color balancing, this technique is pivotal. The night sky often casts a palette of colors that can look washed out or overly vibrant in raw photos. By adjusting the color balance, you'll make certain that the blues, purples, and pinks of the Milky Way pop without overwhelming the subtler stars and galaxies. It's about finding that perfect equilibrium where the colors reflect what you experienced, creating an authentic yet striking image.
Noise reduction is another critical tool. High ISO settings, which are often necessary in low-light conditions, can introduce a significant amount of noise, detracting from the clarity of your astrophotography. Employing noise reduction techniques helps in smoothing out the graininess without sacrificing the fine details of the cosmic objects. Be judicious, though; overdoing it can lead to a loss of detail, resulting in a less dynamic image.
Overcoming Common Challenges
While mastering post-processing sharpens your astrophotography skills, you'll also face several challenges that demand creative solutions and technical expertise. Weather interference and light pollution are particularly significant hurdles that can thwart your efforts to capture the stunning beauty of the night sky.
Here's how you can tackle these and other common issues:
- Weather Interference: Always check the weather forecast before planning your shoot. Apps and websites dedicated to astronomical conditions can predict cloud cover and visibility, helping you choose the best nights for clear skies.
- Light Pollution: Seek out locations known for their dark skies. National parks and remote areas often provide the best conditions for astrophotography. Utilize light pollution filters to enhance the visibility of celestial objects.
- Equipment Malfunctions: Familiarize yourself with your equipment. Regular maintenance and a thorough understanding of your gear's capabilities can prevent unexpected malfunctions.
- Focus Difficulties: Use live view mode and digital zoom to precisely focus on stars. Manual focusing is often more reliable than auto-focus in low light conditions.
- Battery Life: Cold nights can drain your battery faster. Always carry spares and consider using an external power source to extend shooting time.
Frequently Asked Questions
Can Astrophotography Be a Profitable Hobby?
Yes, astrophotography can certainly be a profitable hobby for you. By reselling specialized equipment and hosting workshops, you've got great avenues to earn.
Selling high-quality gear often retains much of its value, and enthusiasts are always looking to buy. Additionally, leading workshops allows you to share your passion while charging for your expertise.
Both strategies require deep knowledge and a commitment to quality, but they can effectively turn your hobby into a lucrative endeavor.
What Are the Legal Considerations of Astrophotography?
Ironically, capturing the limitless cosmos can be legally limiting! You've got to navigate property rights, ensuring you're not trespassing while setting up your shot.
Also, be aware of light pollution regulations that might restrict your shooting locations and techniques. Dive deeply into local laws to avoid any legal snags.
Your passion for the stars should freely soar, but it's grounded in understanding and adhering to these essential legal frameworks.
How Does Moonlight Affect Astrophotography?
Moonlight can have a considerable impact on your astrophotography by causing moonlight interference, which washes out the fainter stars and nebulae. You'll need to make exposure adjustments to mitigate this.
Shooting during a new moon, or utilizing specific filters might help. Analyze the moon's phase and position thoroughly before planning your shoot to guarantee you capture the night sky in its full glory without the overpowering effect of moonlight overshadowing the celestial wonders you're aiming to photograph.
Can Astrophotography Help With Scientific Research?
Yes, astrophotography can greatly aid scientific research.
By capturing detailed images of celestial bodies, you're contributing to star mapping and advancing our understanding of the universe. The precision required guarantees accuracy in tracking stellar movements and changes.
Additionally, equipment advancements in cameras and telescopes allow you to capture phenomena previously unseen.
This not only fuels scientific discovery but passionately connects you to the ever-expanding field of astronomy.
What Are Some Community Forums for Astrophotographers?
You're diving into the world of astrophotography and seeking community forums? Check out sites like Cloudy Nights and AstroBin. Both platforms are buzzing with enthusiasts who share your passion.
You'll find deep discussions on equipment recommendations, post-processing techniques, and much more. These forums are invaluable for learning, sharing experiences, and refining your skills.
Engage with the community, and you'll gain insights that can dramatically enhance your celestial captures.
Conclusion
Now, you've navigated the nuances of night skies and mastered the magic of the Milky Way. With your camera competently calibrated and your settings skillfully selected, each celestial shot showcases your growing genius.
Embrace each expedition's experiences, from serene starlit silences to the thrilling chase of the perfect photo. Persist through the pitfalls, and push your potential.
Remember, astrophotography isn't just capturing constellations—it's about connecting with the cosmos and crafting your own stellar story.

