Calligraphy, the art of beautiful writing, has captivated people for centuries with its elegance and grace. From ancient manuscripts to modern wedding invitations, calligraphy continues to enchant us with its timeless appeal. Whether you are a complete beginner or someone looking to enhance their skills, this guide will take you on a journey to explore the fascinating world of calligraphy.
In this comprehensive tutorial, we will delve into the fundamentals of calligraphy in English, unlocking the secrets behind creating stunning letterforms. From understanding the importance of proper pen grip and posture to mastering the basic strokes that form the foundation of every letter, we will equip you with the essential tools and techniques necessary to embark on your calligraphic journey. So, prepare to immerse yourself in the mesmerizing art of calligraphy, where every stroke tells a story and every word becomes a work of art.
How to do calligraphy:
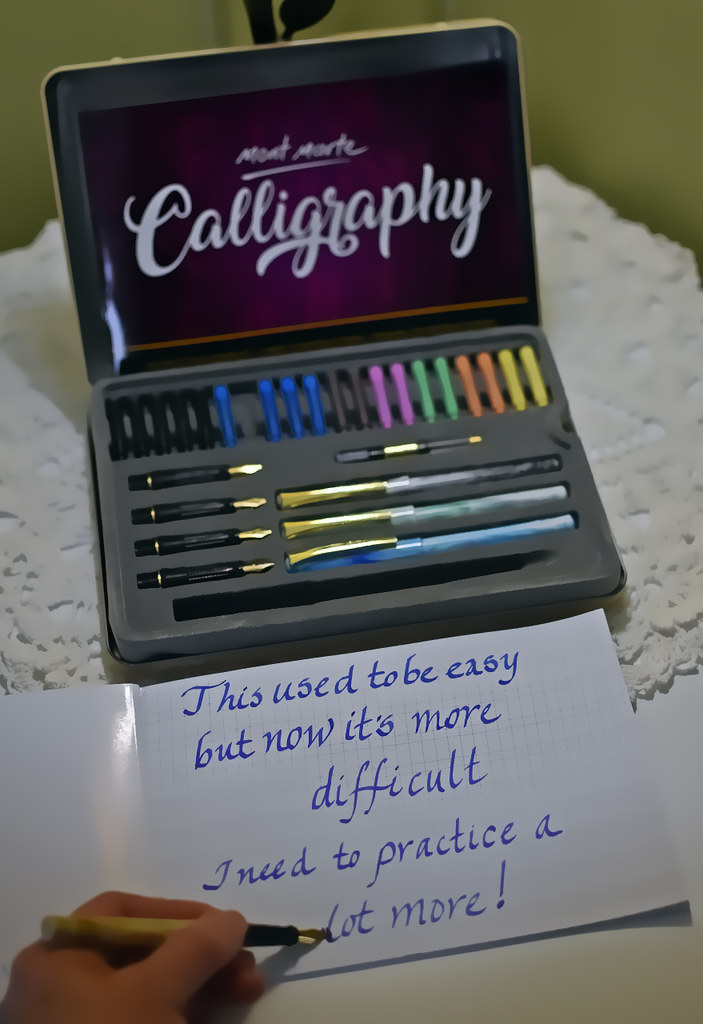
- Step 1: Gather your calligraphy supplies, including a pen holder, nibs, ink, and paper.
- Step 2: Practice basic strokes and letterforms to familiarize yourself with the technique.
- Step 3: Start with simple words and gradually progress to more complex compositions.
- Step 4: Experiment with different calligraphy styles and techniques to develop your unique handwriting.

Introduction
Calligraphy is the art of beautiful handwriting, and it has been practiced for centuries. Whether you want to add a personal touch to your greetings cards or create stunning artwork, learning calligraphy can be a rewarding and enjoyable experience. In this step-by-step guide, we will walk you through the process of how to do calligraphy, from choosing the right tools to mastering the basic techniques.
Step 1: Gather the Necessary Tools
Before you can begin your calligraphy journey, you will need to gather the necessary tools. The basic tools include a calligraphy pen or brush, ink or paint, paper, and a ruler or straight edge. Calligraphy pens come in various types, such as dip pens with interchangeable nibs or fountain pens with calligraphy nibs. Experiment with different tools to find the one that suits your style and comfort.
When it comes to ink or paint, choose a high-quality ink that flows smoothly and dries quickly. Calligraphy paper is usually thicker and smoother than regular paper, allowing the ink to glide more easily. A ruler or straight edge is essential for creating straight lines and guiding your lettering.
Step 2: Learn the Basic Strokes
Now that you have your tools ready, it’s time to learn the basic strokes of calligraphy. These strokes form the foundation of every letter and word you will write. Start by practicing the thin upstrokes and thick downstrokes. Apply pressure on the downstroke to create a thicker line, and release pressure on the upstroke for a thinner line.
Once you have mastered the basic strokes, you can move on to practicing individual letters. Start with simple letters like straight lines and curves, gradually progressing to more complex letters. Pay attention to the angle and slant of your letters, as these elements contribute to the overall aesthetics of calligraphy.
Step 3: Practice Consistently
Like any skill, calligraphy requires practice to improve. Set aside regular practice sessions to hone your skills and develop muscle memory. Start with simple drills and exercises to warm up, such as writing lines and circles. As you become more comfortable, practice writing words and sentences.
Don’t be discouraged if your initial attempts don’t meet your expectations. Remember that calligraphy is a journey, and progress takes time. Embrace the learning process and focus on continuous improvement. Seek inspiration from calligraphy masters and experiment with different styles to find your own unique voice.
Step 4: Explore Advanced Techniques
Once you have a solid foundation in calligraphy, you can explore advanced techniques to further enhance your skills. Experiment with different lettering styles, such as Gothic, Italic, or Copperplate. Learn about flourishes, ligatures, and other decorative elements that can add flair to your calligraphy.
Additionally, consider incorporating color into your calligraphy. Experiment with different ink colors or try blending colors to create stunning effects. You can also explore different writing surfaces, such as vellum or chalkboards, to add variety to your calligraphy projects.
Step 5: Share and Inspire
Once you feel confident in your calligraphy skills, don’t hesitate to share your work with others. Display your calligraphy pieces in your home or give them as thoughtful gifts. You can also join calligraphy communities or attend workshops to connect with fellow enthusiasts and learn from experienced calligraphers.
Remember that calligraphy is an art form that can bring joy and beauty to both the creator and the viewer. Keep exploring, experimenting, and refining your skills to continuously grow as a calligrapher.
Frequently Asked Questions
Here are some commonly asked questions about how to do calligraphy:
Question 1: What is calligraphy?
Calligraphy is the art of writing beautifully and skillfully. It involves using special pens or brushes to create elegant and expressive lettering. Calligraphy can be seen in various forms, such as wedding invitations, certificates, and decorative artwork.
Learning calligraphy can be a rewarding and enjoyable experience for those interested in typography, design, or simply wanting to add a touch of elegance to their handwriting.
Question 2: What tools do I need to get started with calligraphy?
To get started with calligraphy, you will need a few essential tools. These include a calligraphy pen or brush, ink or ink cartridges, and high-quality paper or practice sheets. It’s important to choose tools that suit your style and comfort, as different pens and brushes produce different effects.
You may also want to consider investing in a pen holder, a nib holder, and a ruler or T-square to assist with precise measurements and alignments. As you progress, you can explore additional tools like different nib sizes, colored inks, and blending techniques to enhance your calligraphy skills.
Question 3: How can I improve my calligraphy skills?
Improving your calligraphy skills requires practice, patience, and a willingness to experiment. Here are a few tips to help you enhance your calligraphy:
1. Practice regularly: Set aside dedicated time to practice your calligraphy every day or a few times a week. The more you practice, the more you will improve.
2. Study different styles: Explore different calligraphy styles and study the work of renowned calligraphers. This will help you understand different letterforms and techniques.
3. Experiment with different tools and materials: Try using different pens, brushes, inks, and papers to find what works best for you. Experimentation will allow you to discover your preferred style and tools.
4. Seek feedback: Share your work with fellow calligraphers or join online calligraphy communities. Constructive feedback and guidance from others can greatly assist in your skill development.
Remember, calligraphy is a continuous learning process, so be patient with yourself and enjoy the journey of mastering this beautiful art form.
Question 4: How can I achieve consistency in my lettering?
Consistency in lettering is crucial for creating visually pleasing calligraphy. Here are a few techniques to help you achieve consistency:
1. Practice basic strokes: Mastering basic strokes like thin upstrokes and thick downstrokes is essential for consistent lettering. Practice these strokes until you can create them consistently.
2. Use guidelines: Draw light pencil guidelines on your paper to ensure consistent letter height, slant, and spacing. These guidelines will serve as a reference for uniform lettering.
3. Slow down: Take your time when creating each letter. Rushing can result in uneven strokes and inconsistent forms. Focus on maintaining a steady pace to achieve consistency.
4. Analyze your work: Regularly review your calligraphy to identify areas where consistency may be lacking. Pay attention to stroke thickness, spacing, and overall letter shape. Use these observations to improve your technique.
With practice and attention to detail, you will gradually develop the ability to create consistently beautiful calligraphy.
Question 5: Can left-handed individuals learn calligraphy?
Absolutely! Left-handed individuals can learn and excel in calligraphy, just like their right-handed counterparts. However, there are a few adjustments and techniques that can make the process easier:
1. Pen and paper positioning: Experiment with different angles and positions for holding the pen and paper that feel comfortable for your left hand. Find a position that allows you to create smooth strokes without smudging the ink.
2. Use left-handed nibs: Left-handed nibs have a slight angle that accommodates the natural motion of a left-handed writer. These nibs can make it easier to achieve consistent strokes and avoid ink smears.
3. Practice mirror writing: Some left-handed calligraphers find it helpful to practice mirror writing, where they write in reverse. This technique allows the hand to move in a more natural left-to-right motion without smudging the ink.
Remember, calligraphy is a skill that requires practice and perseverance. With time and dedication, left-handed individuals can create stunning calligraphy pieces.
How To: Calligraphy & Hand Lettering for Beginners! Tutorial + Tips!
In conclusion, calligraphy is a beautiful art form that requires patience, practice, and a keen eye for detail. By following the steps and techniques outlined in this guide, anyone can learn how to create stunning calligraphy pieces. Whether you are interested in writing elegant invitations, designing personalized gifts, or simply exploring a new creative outlet, calligraphy can be a rewarding and fulfilling endeavor.
Remember, the key to becoming proficient in calligraphy is to practice regularly and experiment with different styles and techniques. Don’t be discouraged if your first attempts are not perfect – every stroke and curve is an opportunity to learn and grow. With time and dedication, you will develop your own unique calligraphy style and create pieces that are truly works of art. So pick up your pen, embrace the beauty of calligraphy, and let your creativity flow on the page. Happy writing!

